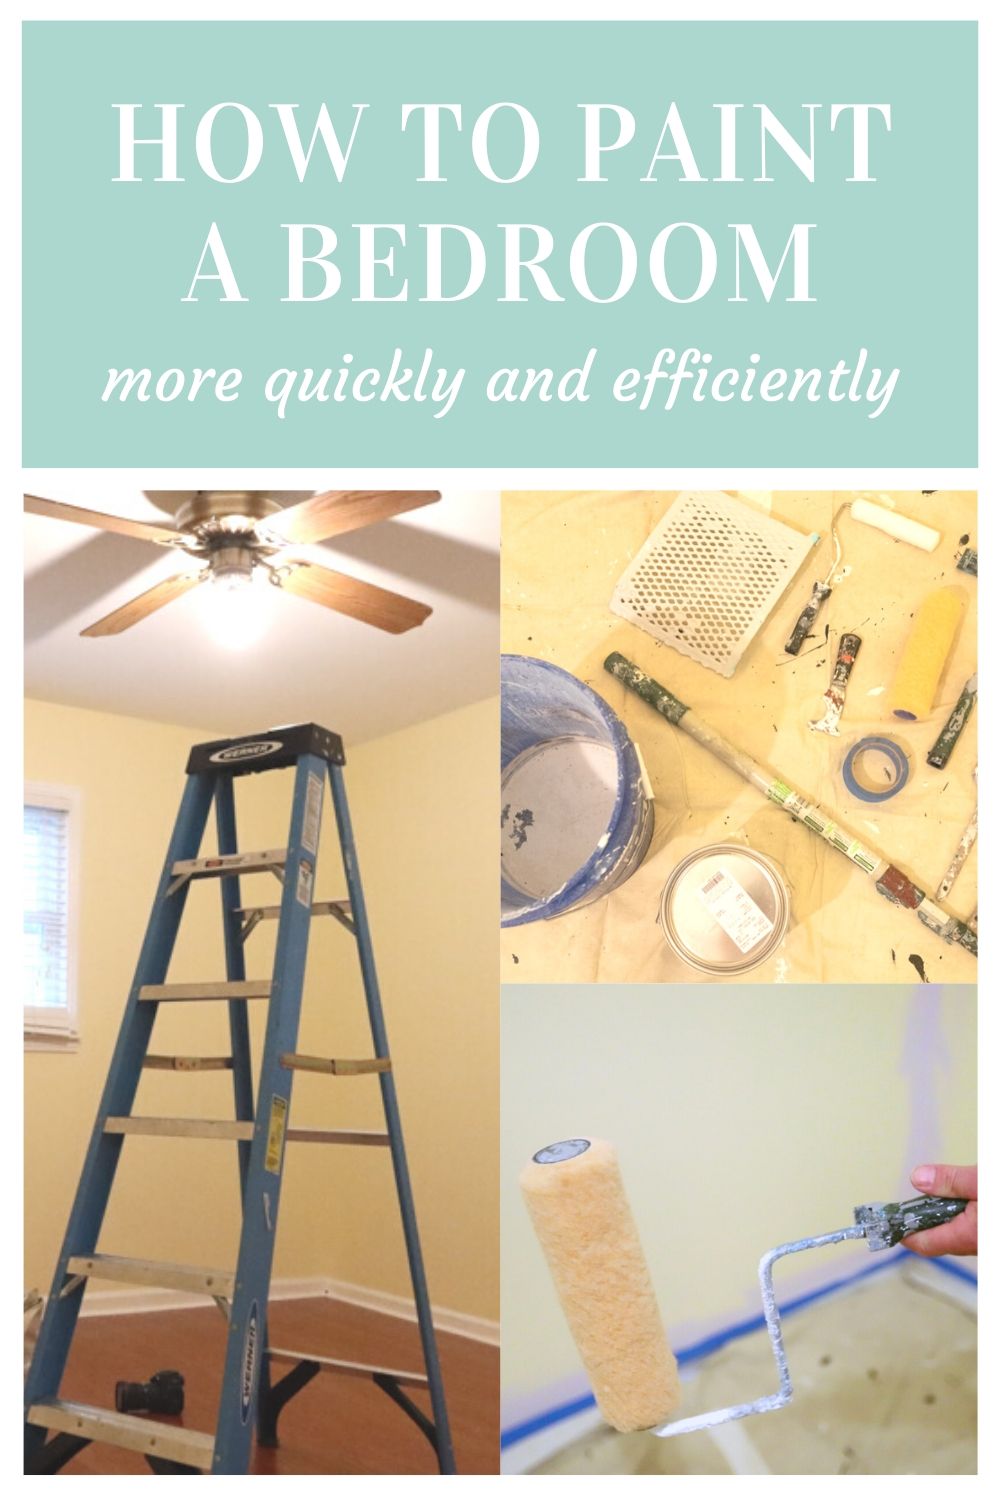
During our unexpected spring at home, we’ve had a chance to tackle plenty of house projects: for ourselves, for my sister, for friends and neighbors. And since SVV has worked in various contracting fields for more than 20 years, I figured this was the perfect time to get him to put together some how-to DIY guides for you, as well as corresponding videos, starting with painting a bedroom, a project which took us under two hours.
I get a little thrill when I start a project like this. The walls are in pristine shape, the baseboard and trim perfectly frame the color, and there’s no tricky ladder work involved or technical tricks required. Altering the mood and vibe by changing the hue of a classically shaped bedroom is, outside of just painting one wall as an accent, the easiest paint task a DIYer can undertake and super satisfying. I’ll outline a few of the things that make me excited about spreading a liquid evenly across a wall that I hope will eliminate the intimidation factor that some people have with painting a bedroom like this.
Picking paint colors
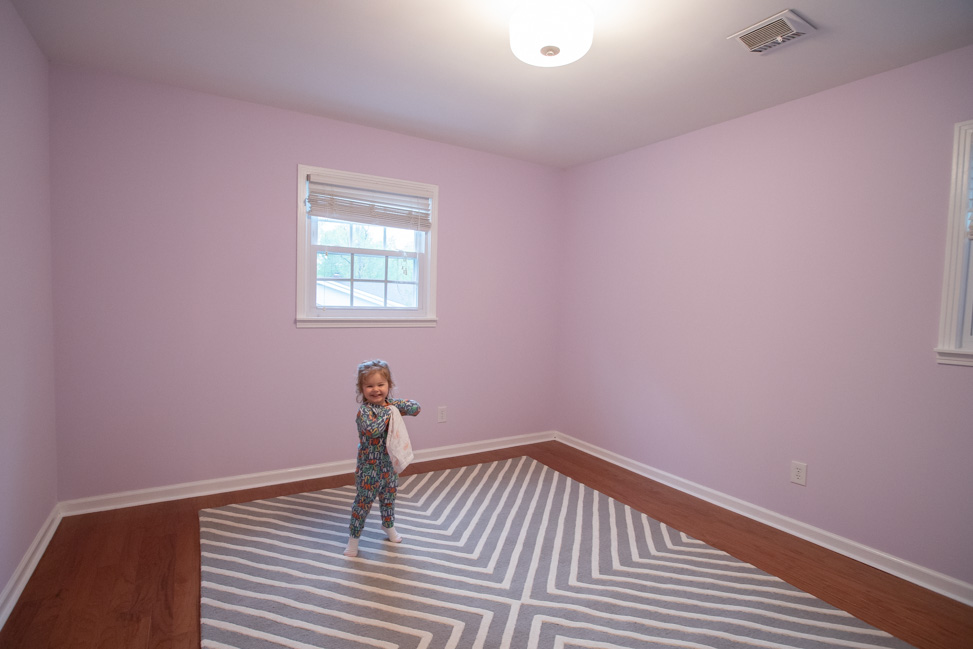
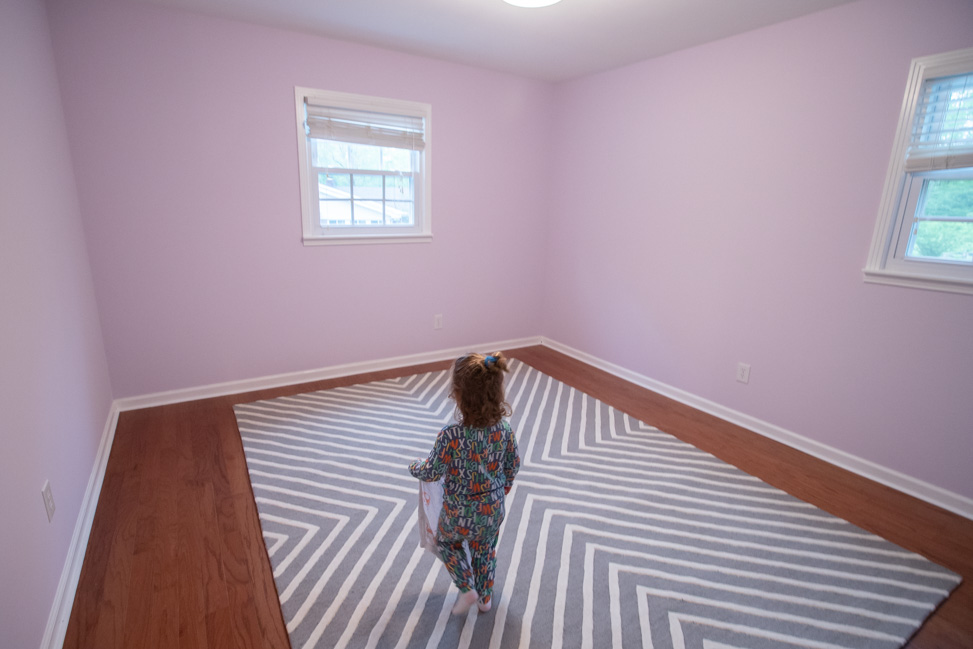
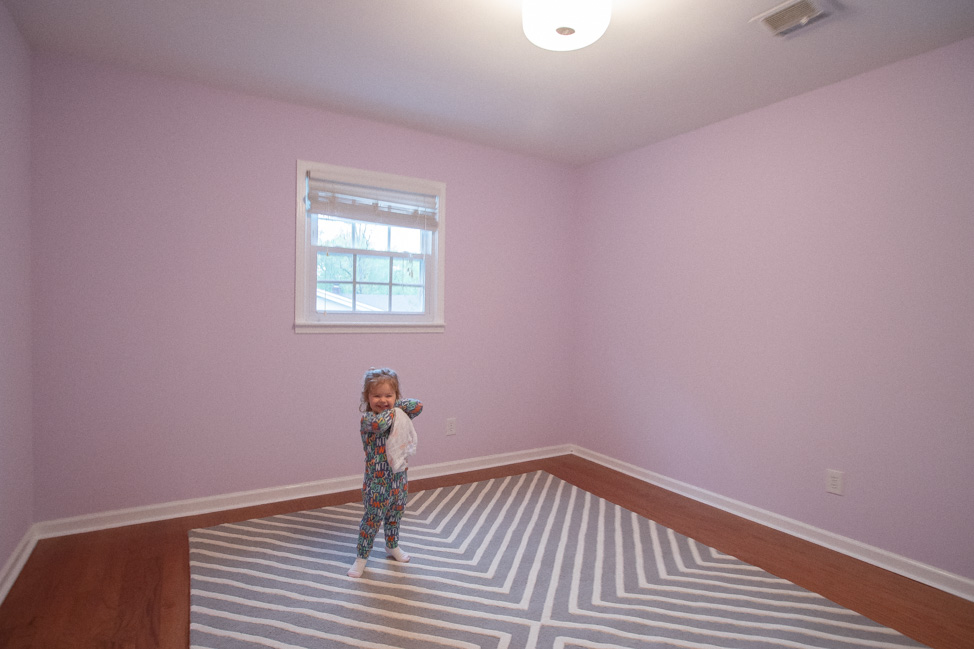
To paint a little girl’s room, Kristin suggested a light purple to her sister, that way it’s something Charlotte can grow with over the years, so we called Sherwin-Williams and they put together a palette of swatches (no contact!) for Kari and Josh to sift through. They picked a couple they liked right in the middle, then Kristin made the executive decision to go with Sherwin-Williams Inspired Lilac 6820, a few shades lighter than their chosen color. She’s worked with me enough on various paint projects over the years to know that every color is always darker when it’s spread out beyond a small chip like this.
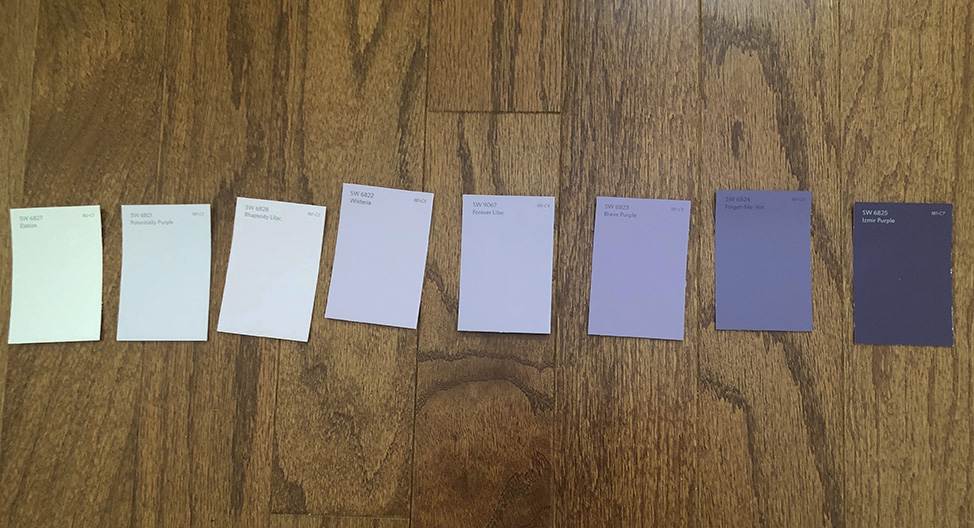
Most paint companies provide a small sample container you can buy before committing to a whole gallon of paint so that you can brush out a larger section on the wall to get a good visual in the actual space. I’ve done purples before so agreed with Kristin’s decision, which looked like it had almost no color on the chip. We use Sherwin-Williams for all of our projects because they have great products, I have a contractor account, and we both adore the people who run the store locally. If you’re looking at using a Sherwin-Williams paint, you can also get a feel for what the room looks like painted in your chosen color with the online ColorSnap Visualizer.
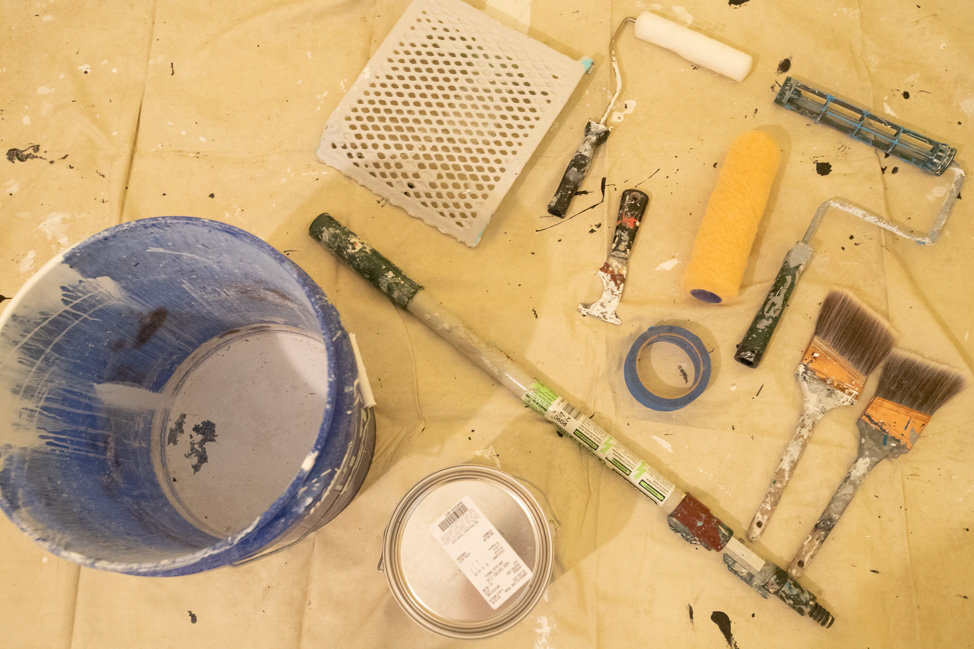
Setting up a shop
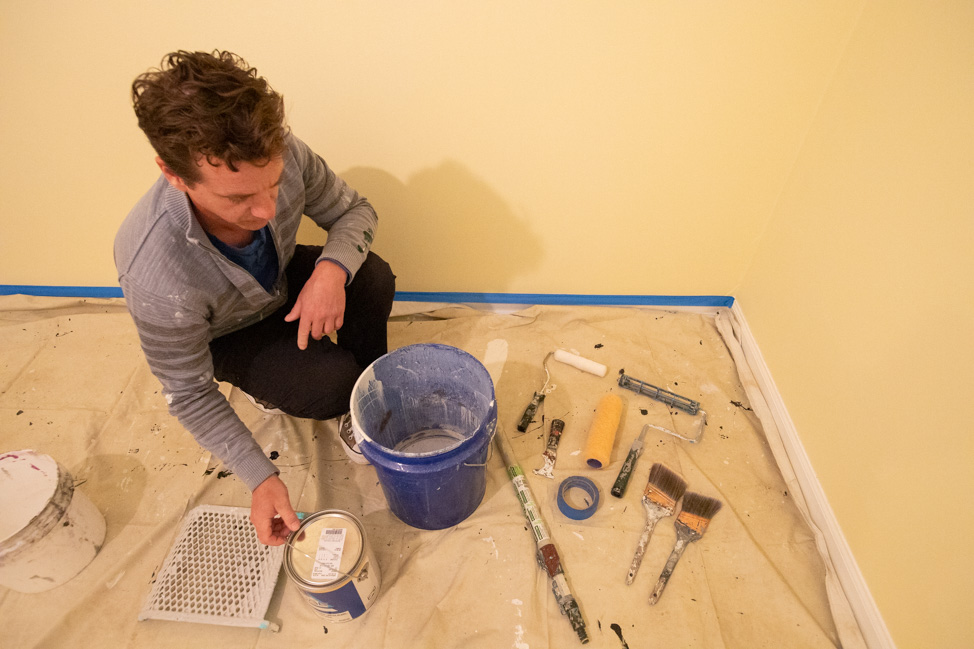
Something I learned a long time ago when handling paint is to designate a space, either in the corner or in another room, for a shop. You’ll be handling a messy product and accidents or spillage will happen as you move along, so recognizing this up front by setting up a good tarp and keeping all the sundries like buckets, paint cans, brushes, tape, rags, and other tools together is a critical aspect of staying organized and from making it into a hassle project that takes more time to clean up than accomplishing.
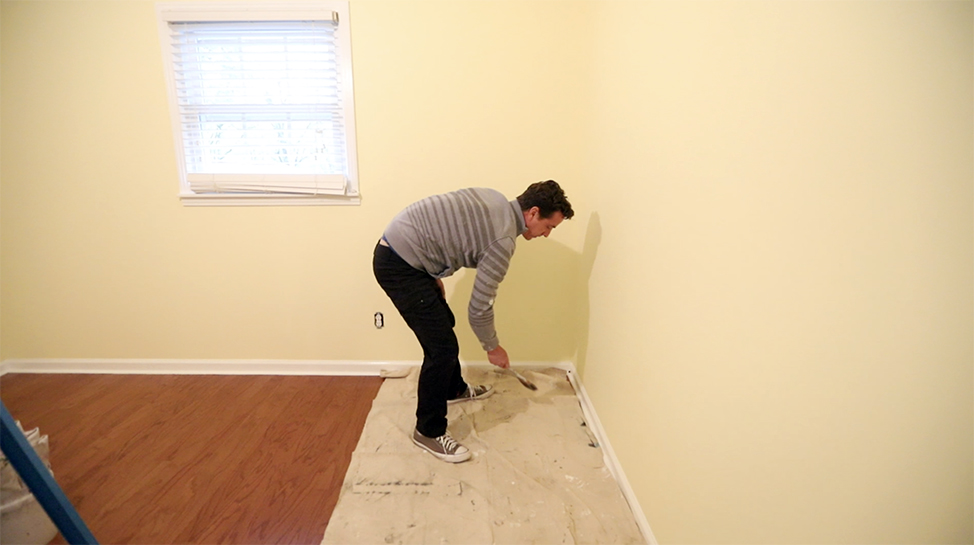
Prepping the space
Besides checking the walls to ensure there aren’t holes to patch and the removal of switch and plug plates, in preparing a basic bedroom for a quick paint job, I like to dust off the baseboards and the tops of window and door frames with an old brush or vacuum. This ensures you won’t pick up lint, hair. or dirt while you’re brushing and allows for the tape to adhere better to the surface.
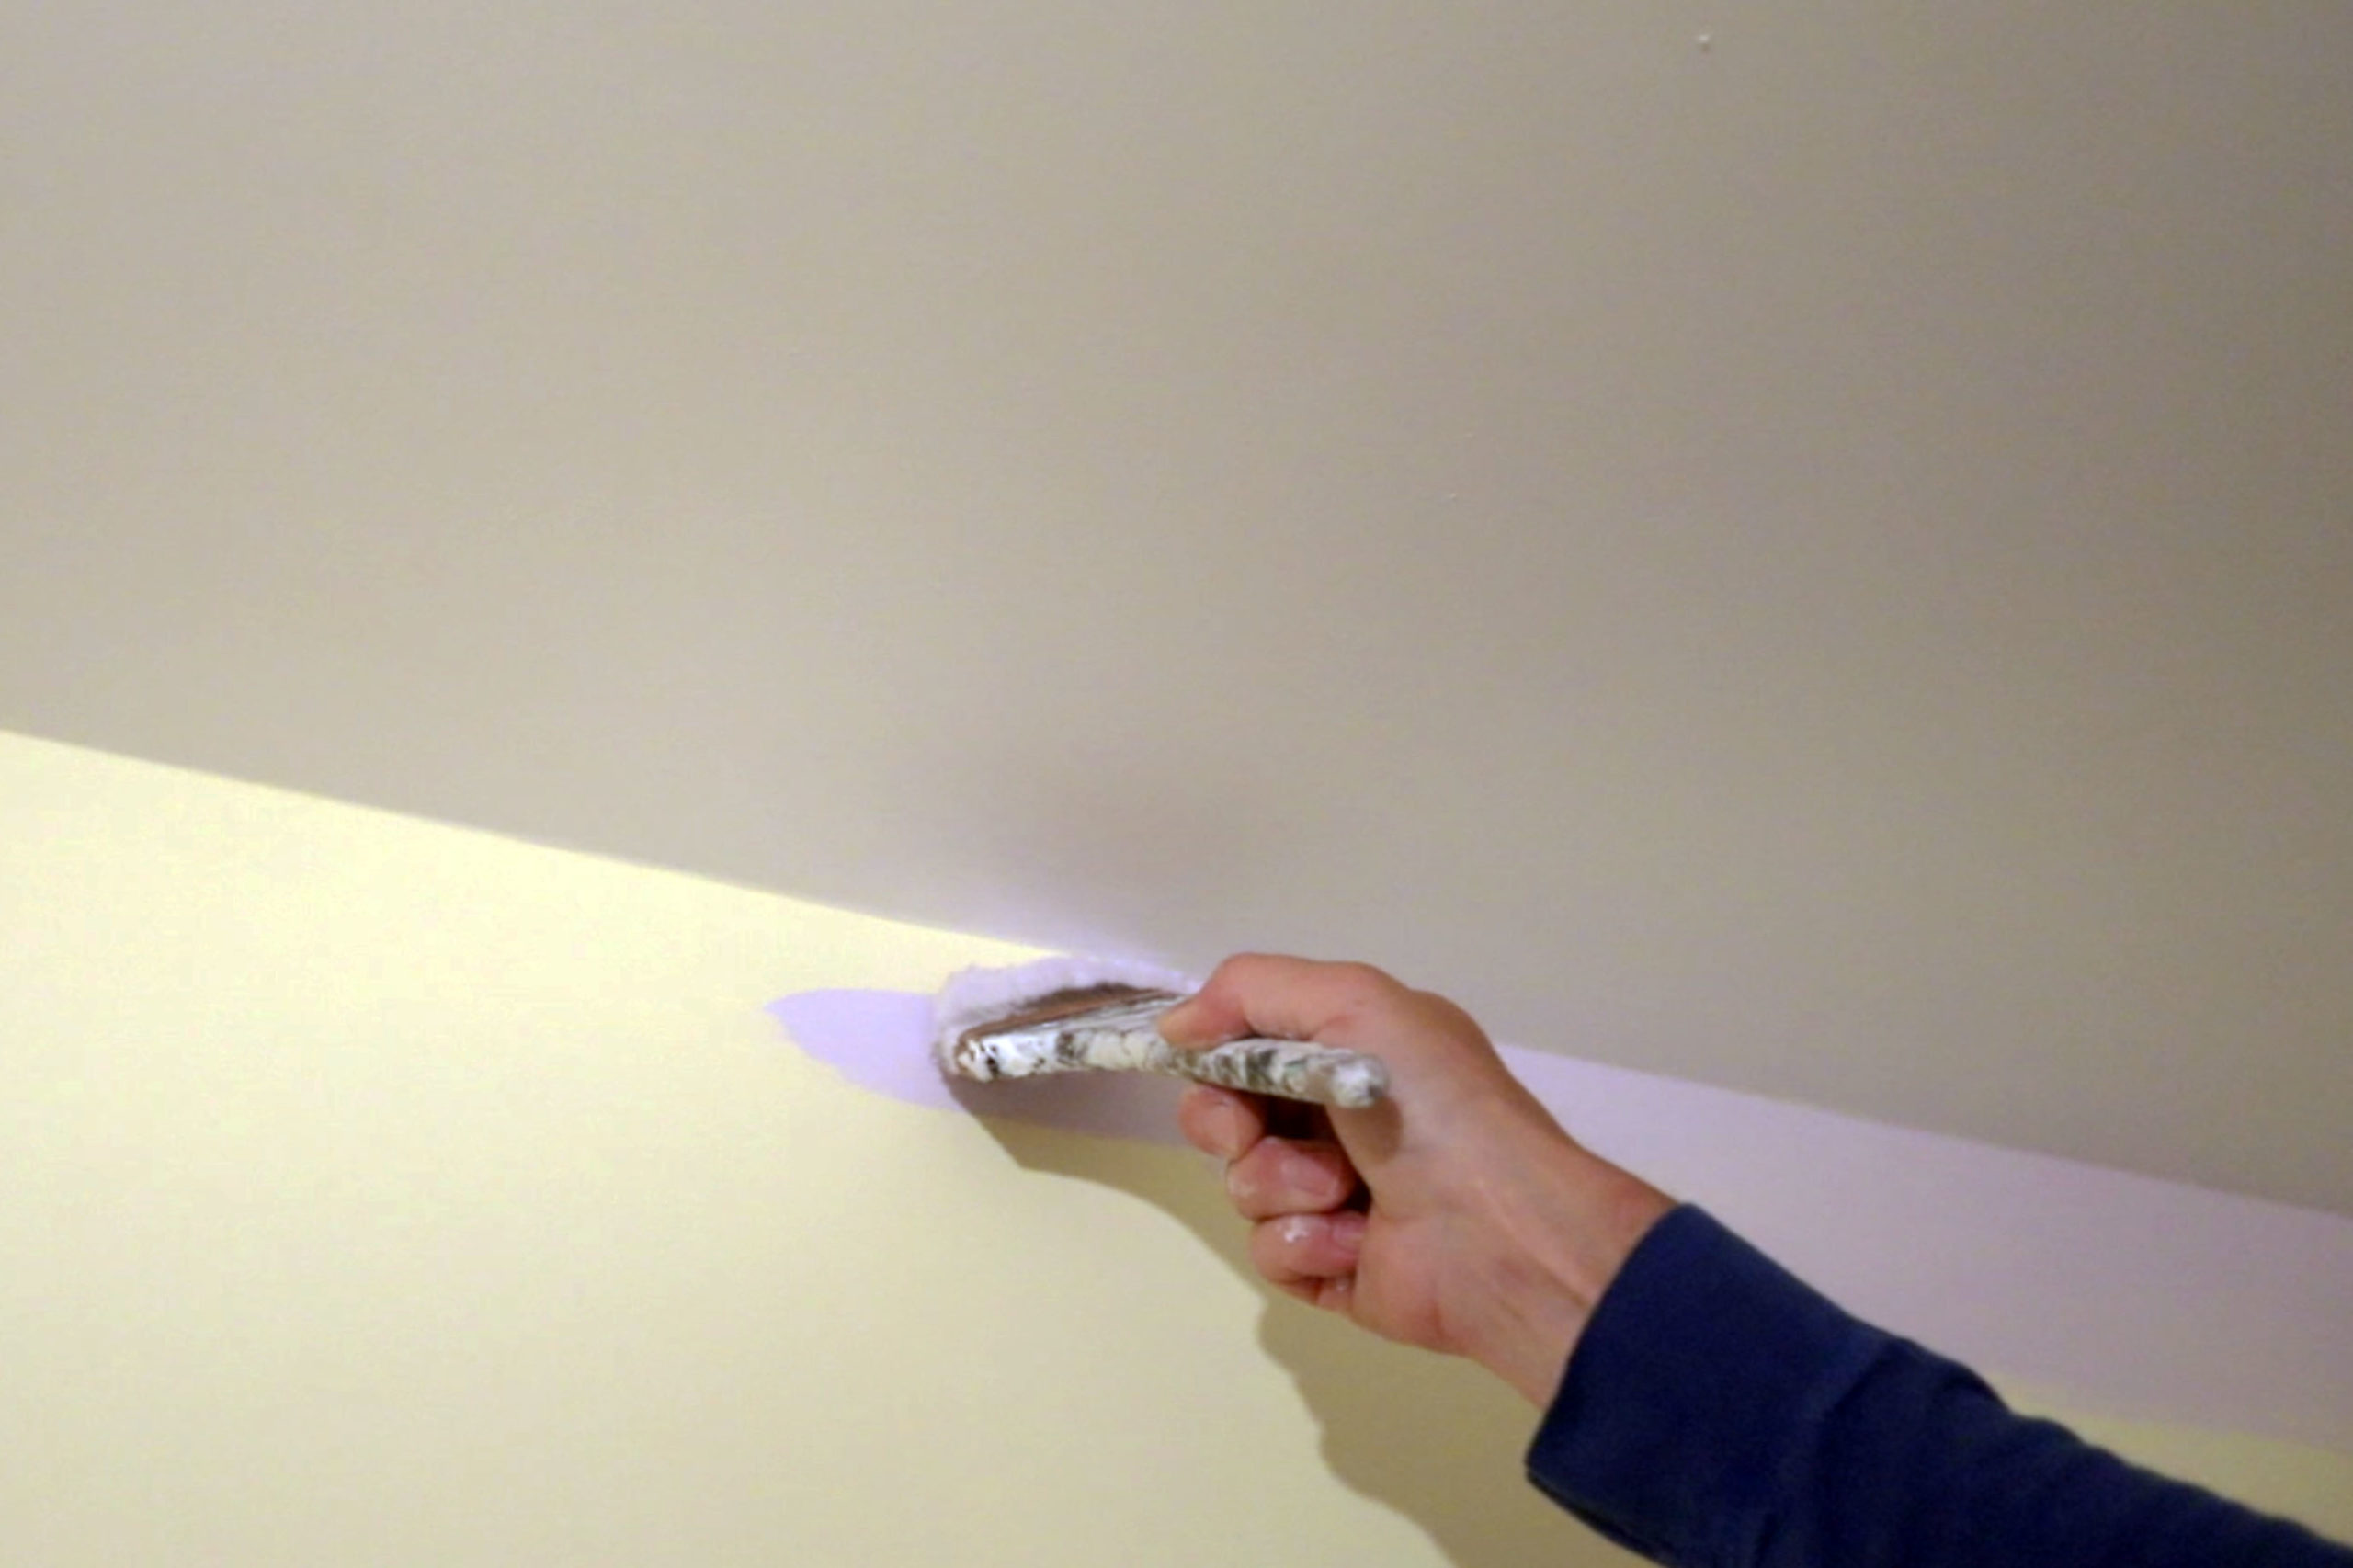
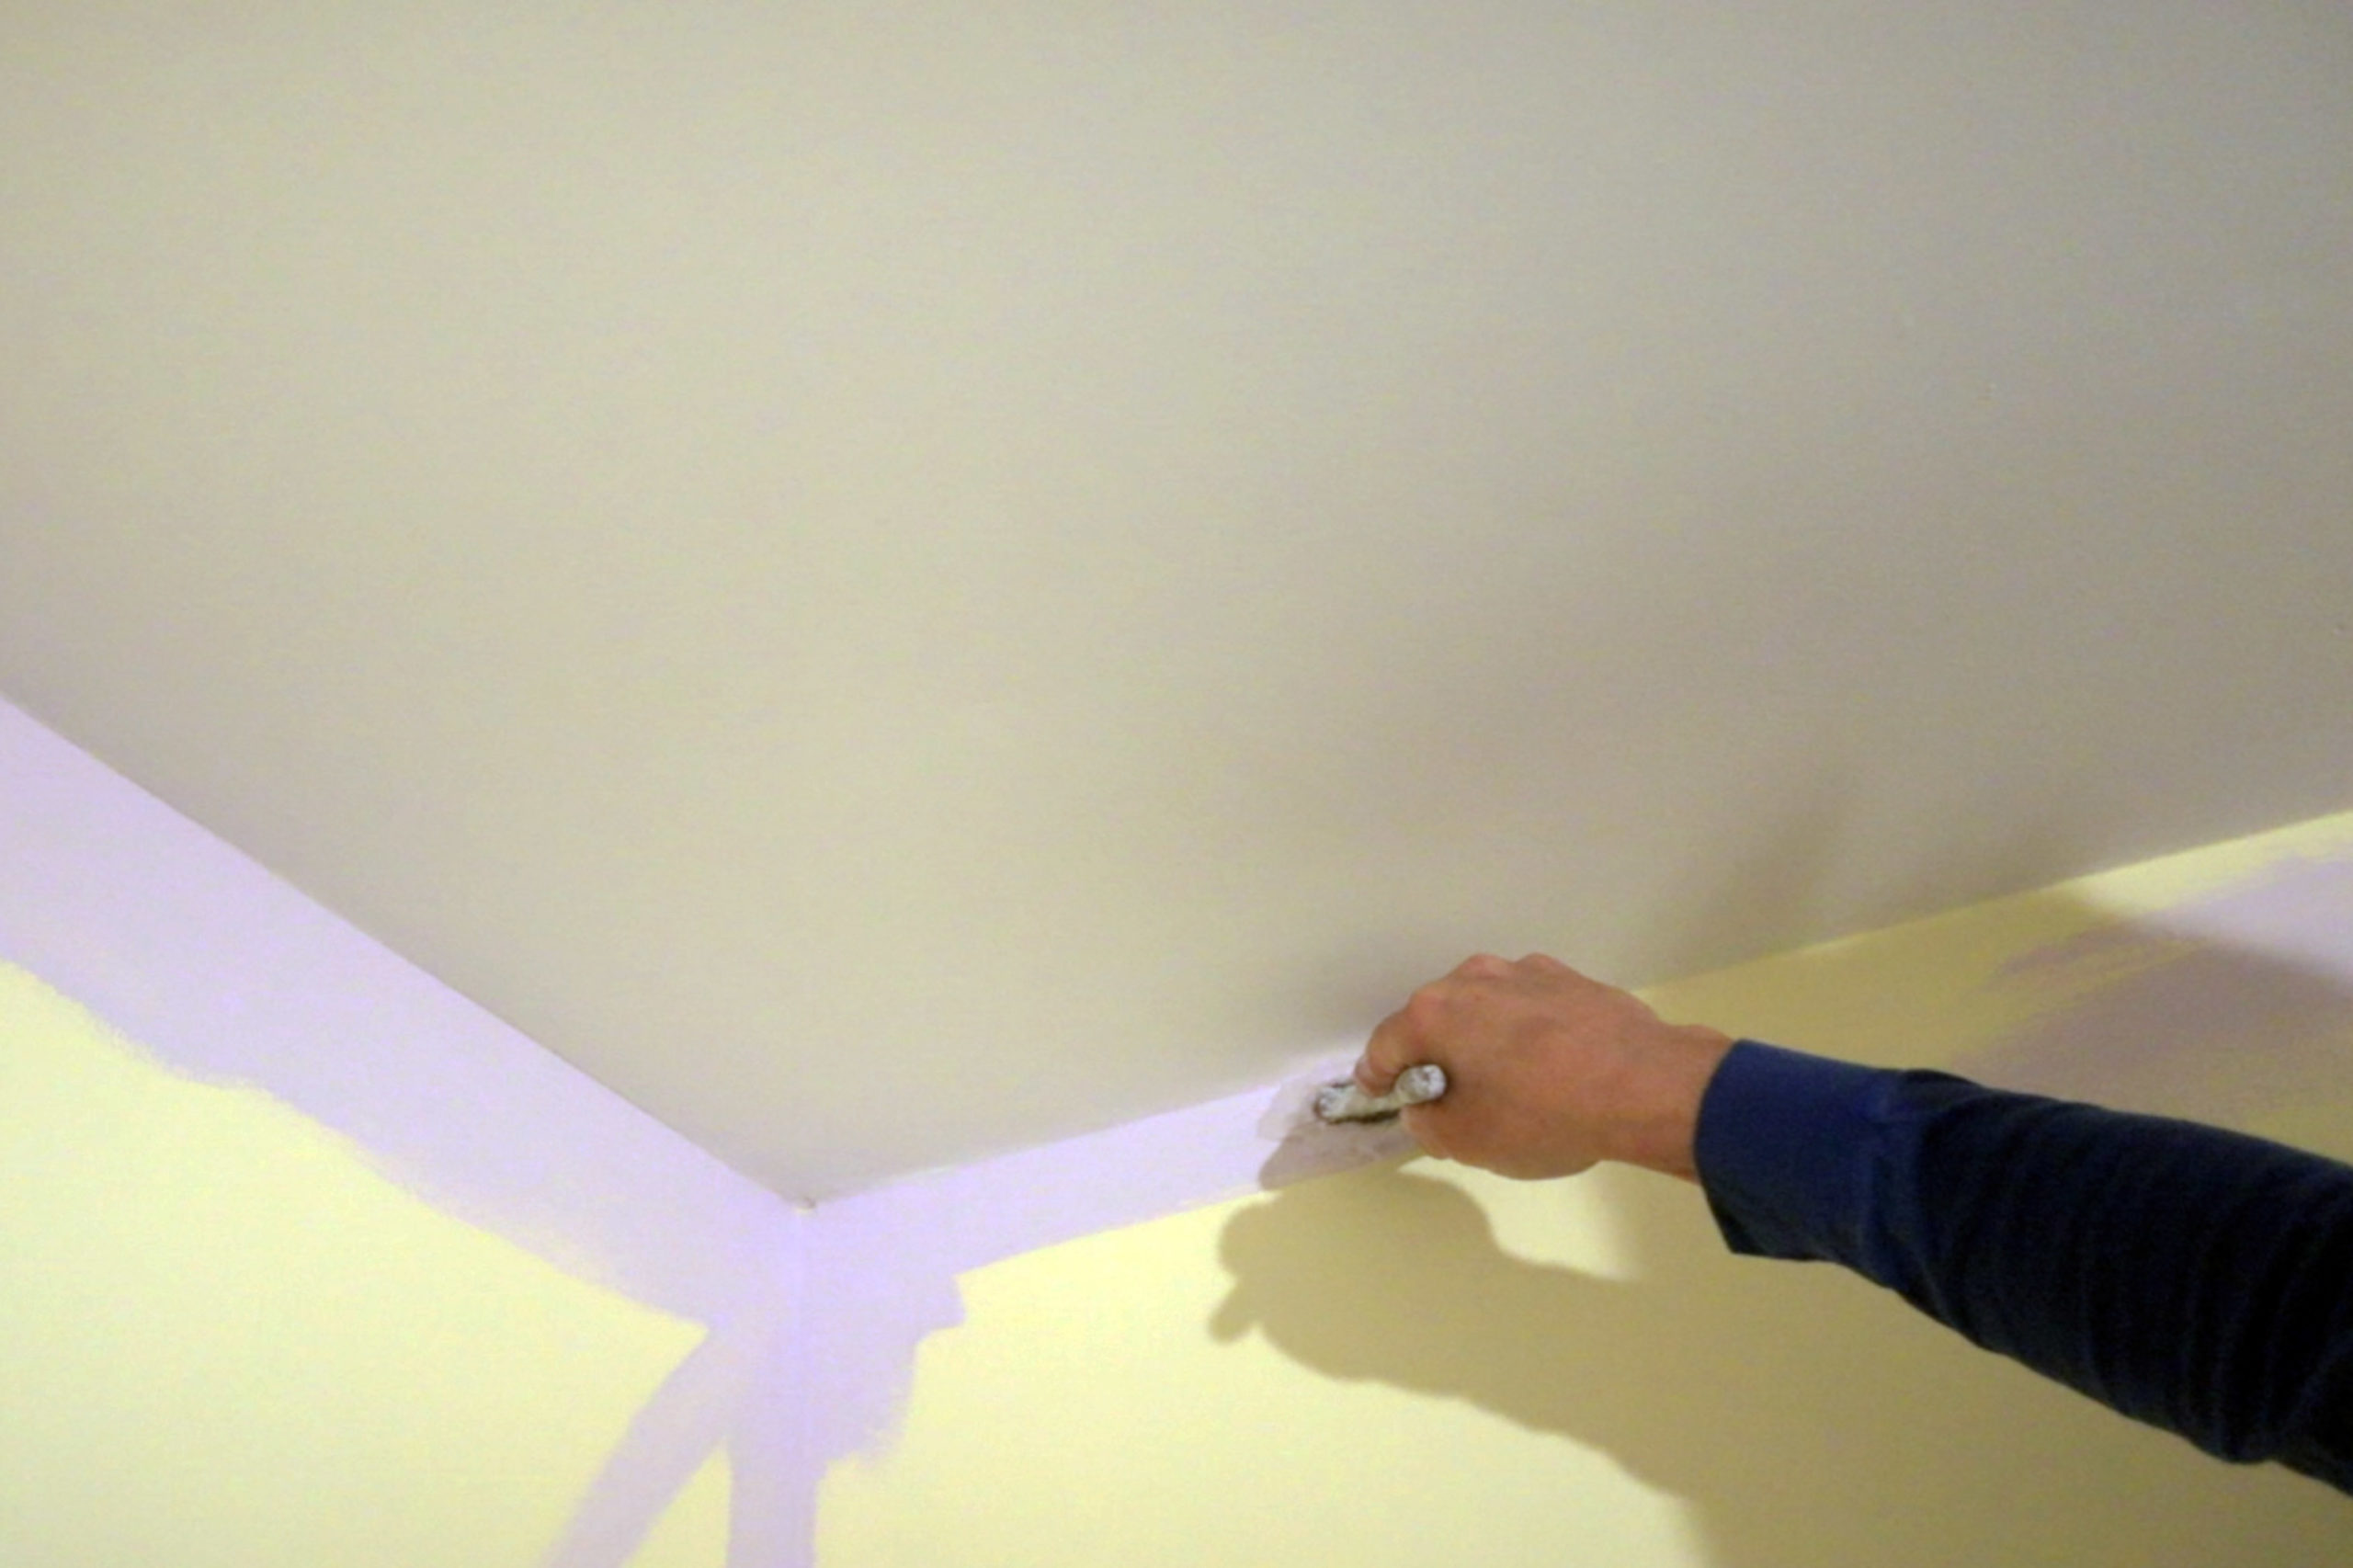
To ensure the baseboard stays clean from spreckles that will get kicked off the roller, I loosely tape along the baseboard. It’s important to note that blue tape is unlikely to give you a straight line and almost always bleeds paint through, so using it as a guide and keeping it clean until the final cut in will make your life much easier. My old boss used to say this to me all the time: “Blue tape does not a painter make,” and it wasn’t just because blue tape runs $8 per roll.
Learn how to use an angle brush and your work cleaning up the sloppiness of relying on blue tape as a line guide will be a lot less! Also, it makes the job a lot less work, period. Taping off trim and ceilings is a hassle, y’all. Avoid it if you can, and keep your tarps kicked up tight against the wall.
The painting process
It wound up taking two coats of this light color to cover the old yellow in full. In most cases, this will be true, so approaching the first coat paint as a primer of sorts and not trying to cover the underlying color in one coat is a nice tip to have in your pocket. It won’t look good on the first go around, but if you do it evenly and trust the process, you’ll be very happy once the second coat of paint dries.
The step-by-step process for painting a bedroom looks like this:
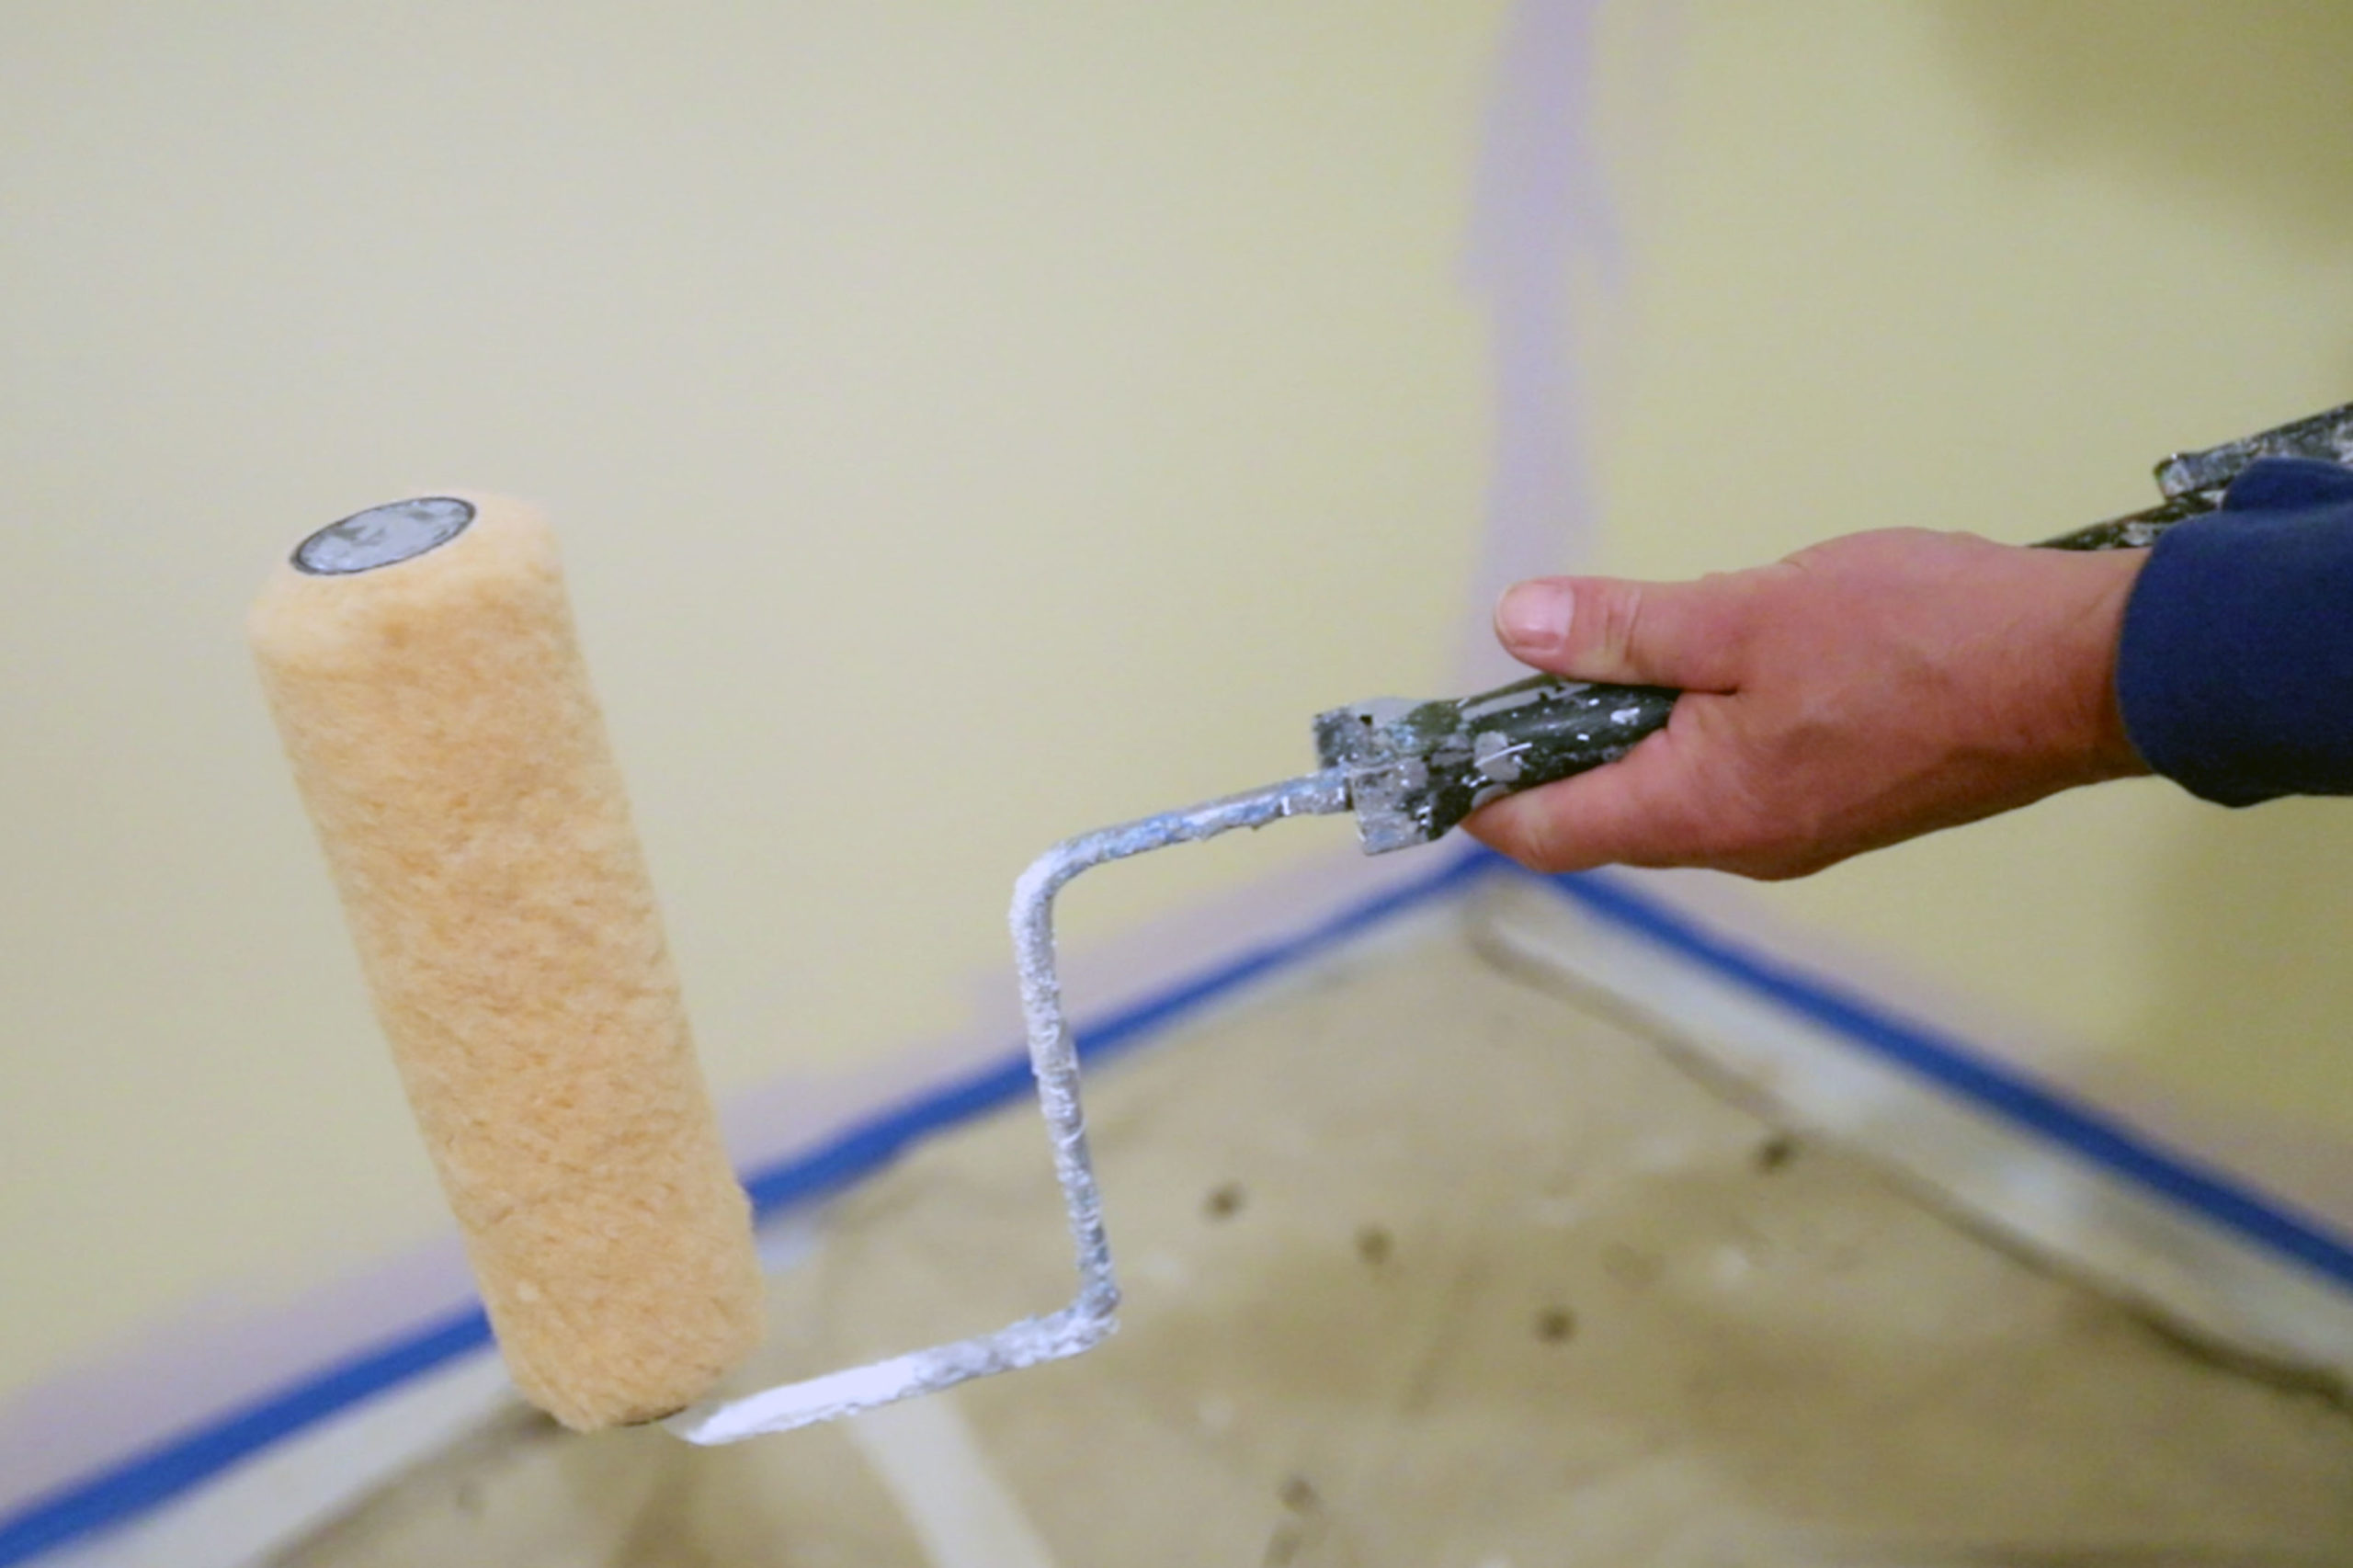
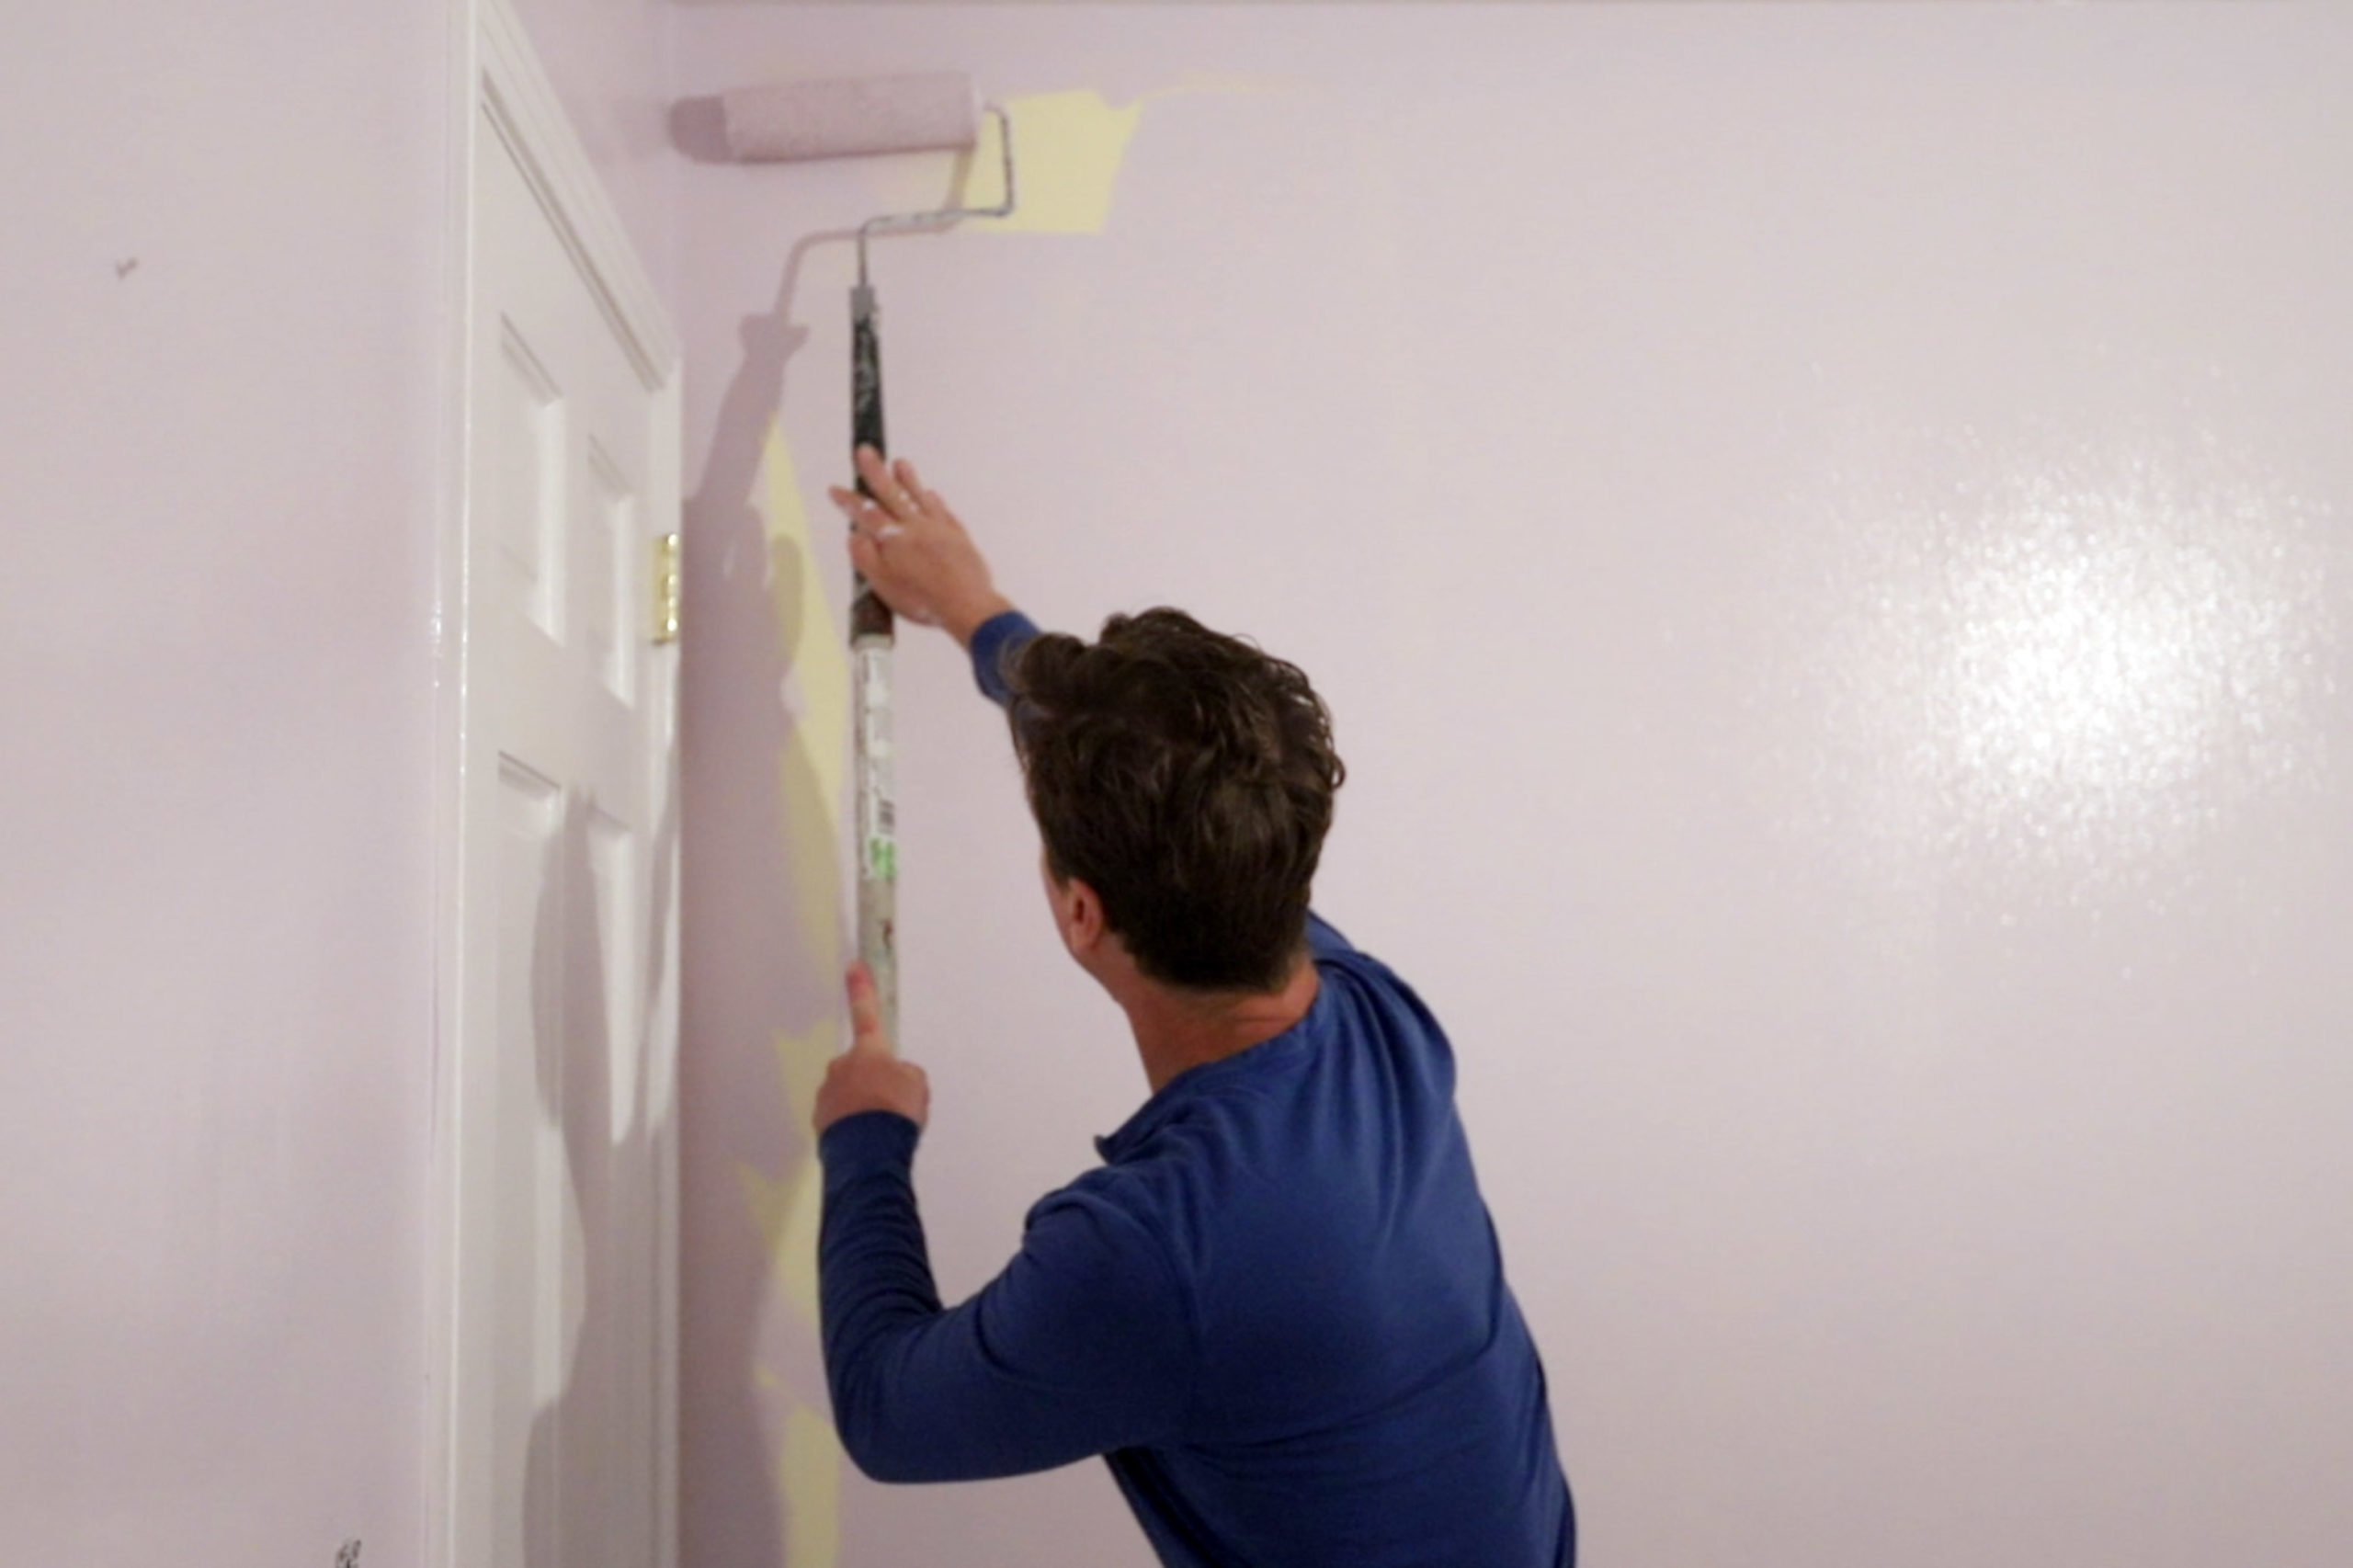
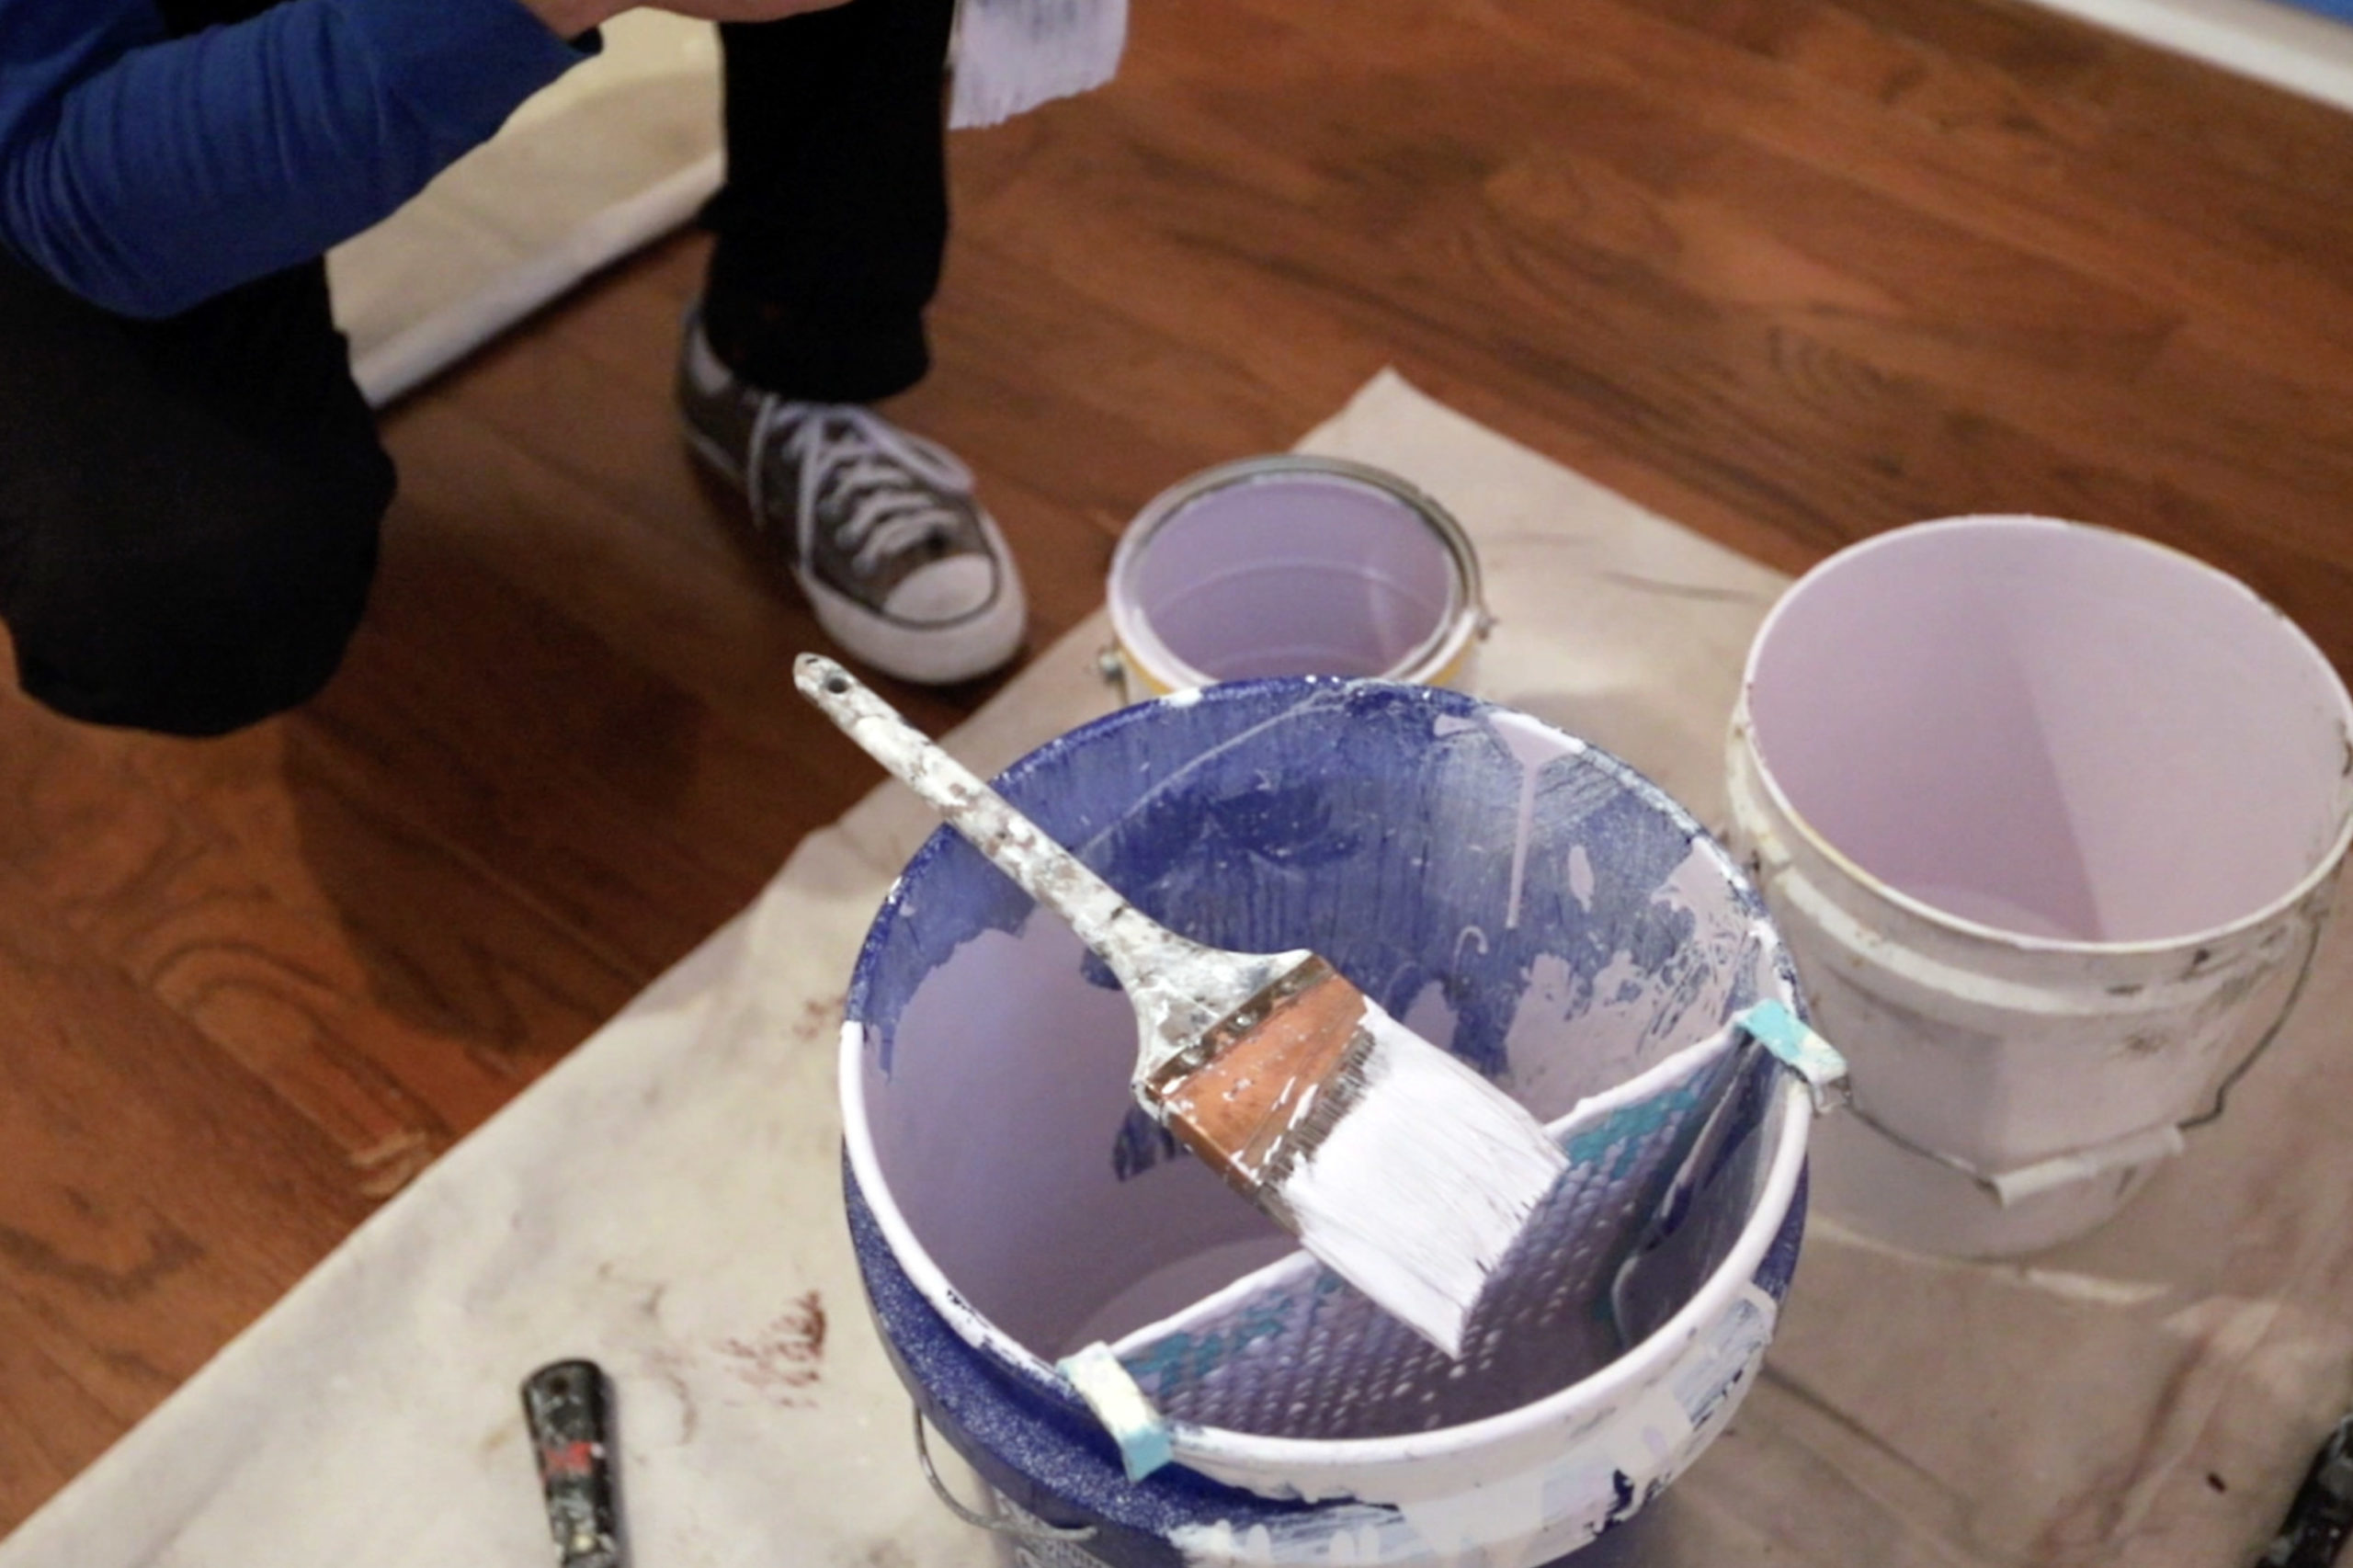
Cut in about two inches out along all corners and edges with an angle brush, taking care to keep the paint from slopping up onto the ceilings or trim pieces and spreading the liquid out evenly. This will give you room to maneuver the big-dog, nine-inch roller handle and create a guideline for where you need to roll. Feather the paint with the brush on all spots that meet up with the old color to keep the brush lines from showing through when you use the roller later. I like to tackle the room in wall sections one at a time., but if you have a helper like Kristin it’s easiest to just cut in the whole room first and go back with the roller to finish it off.
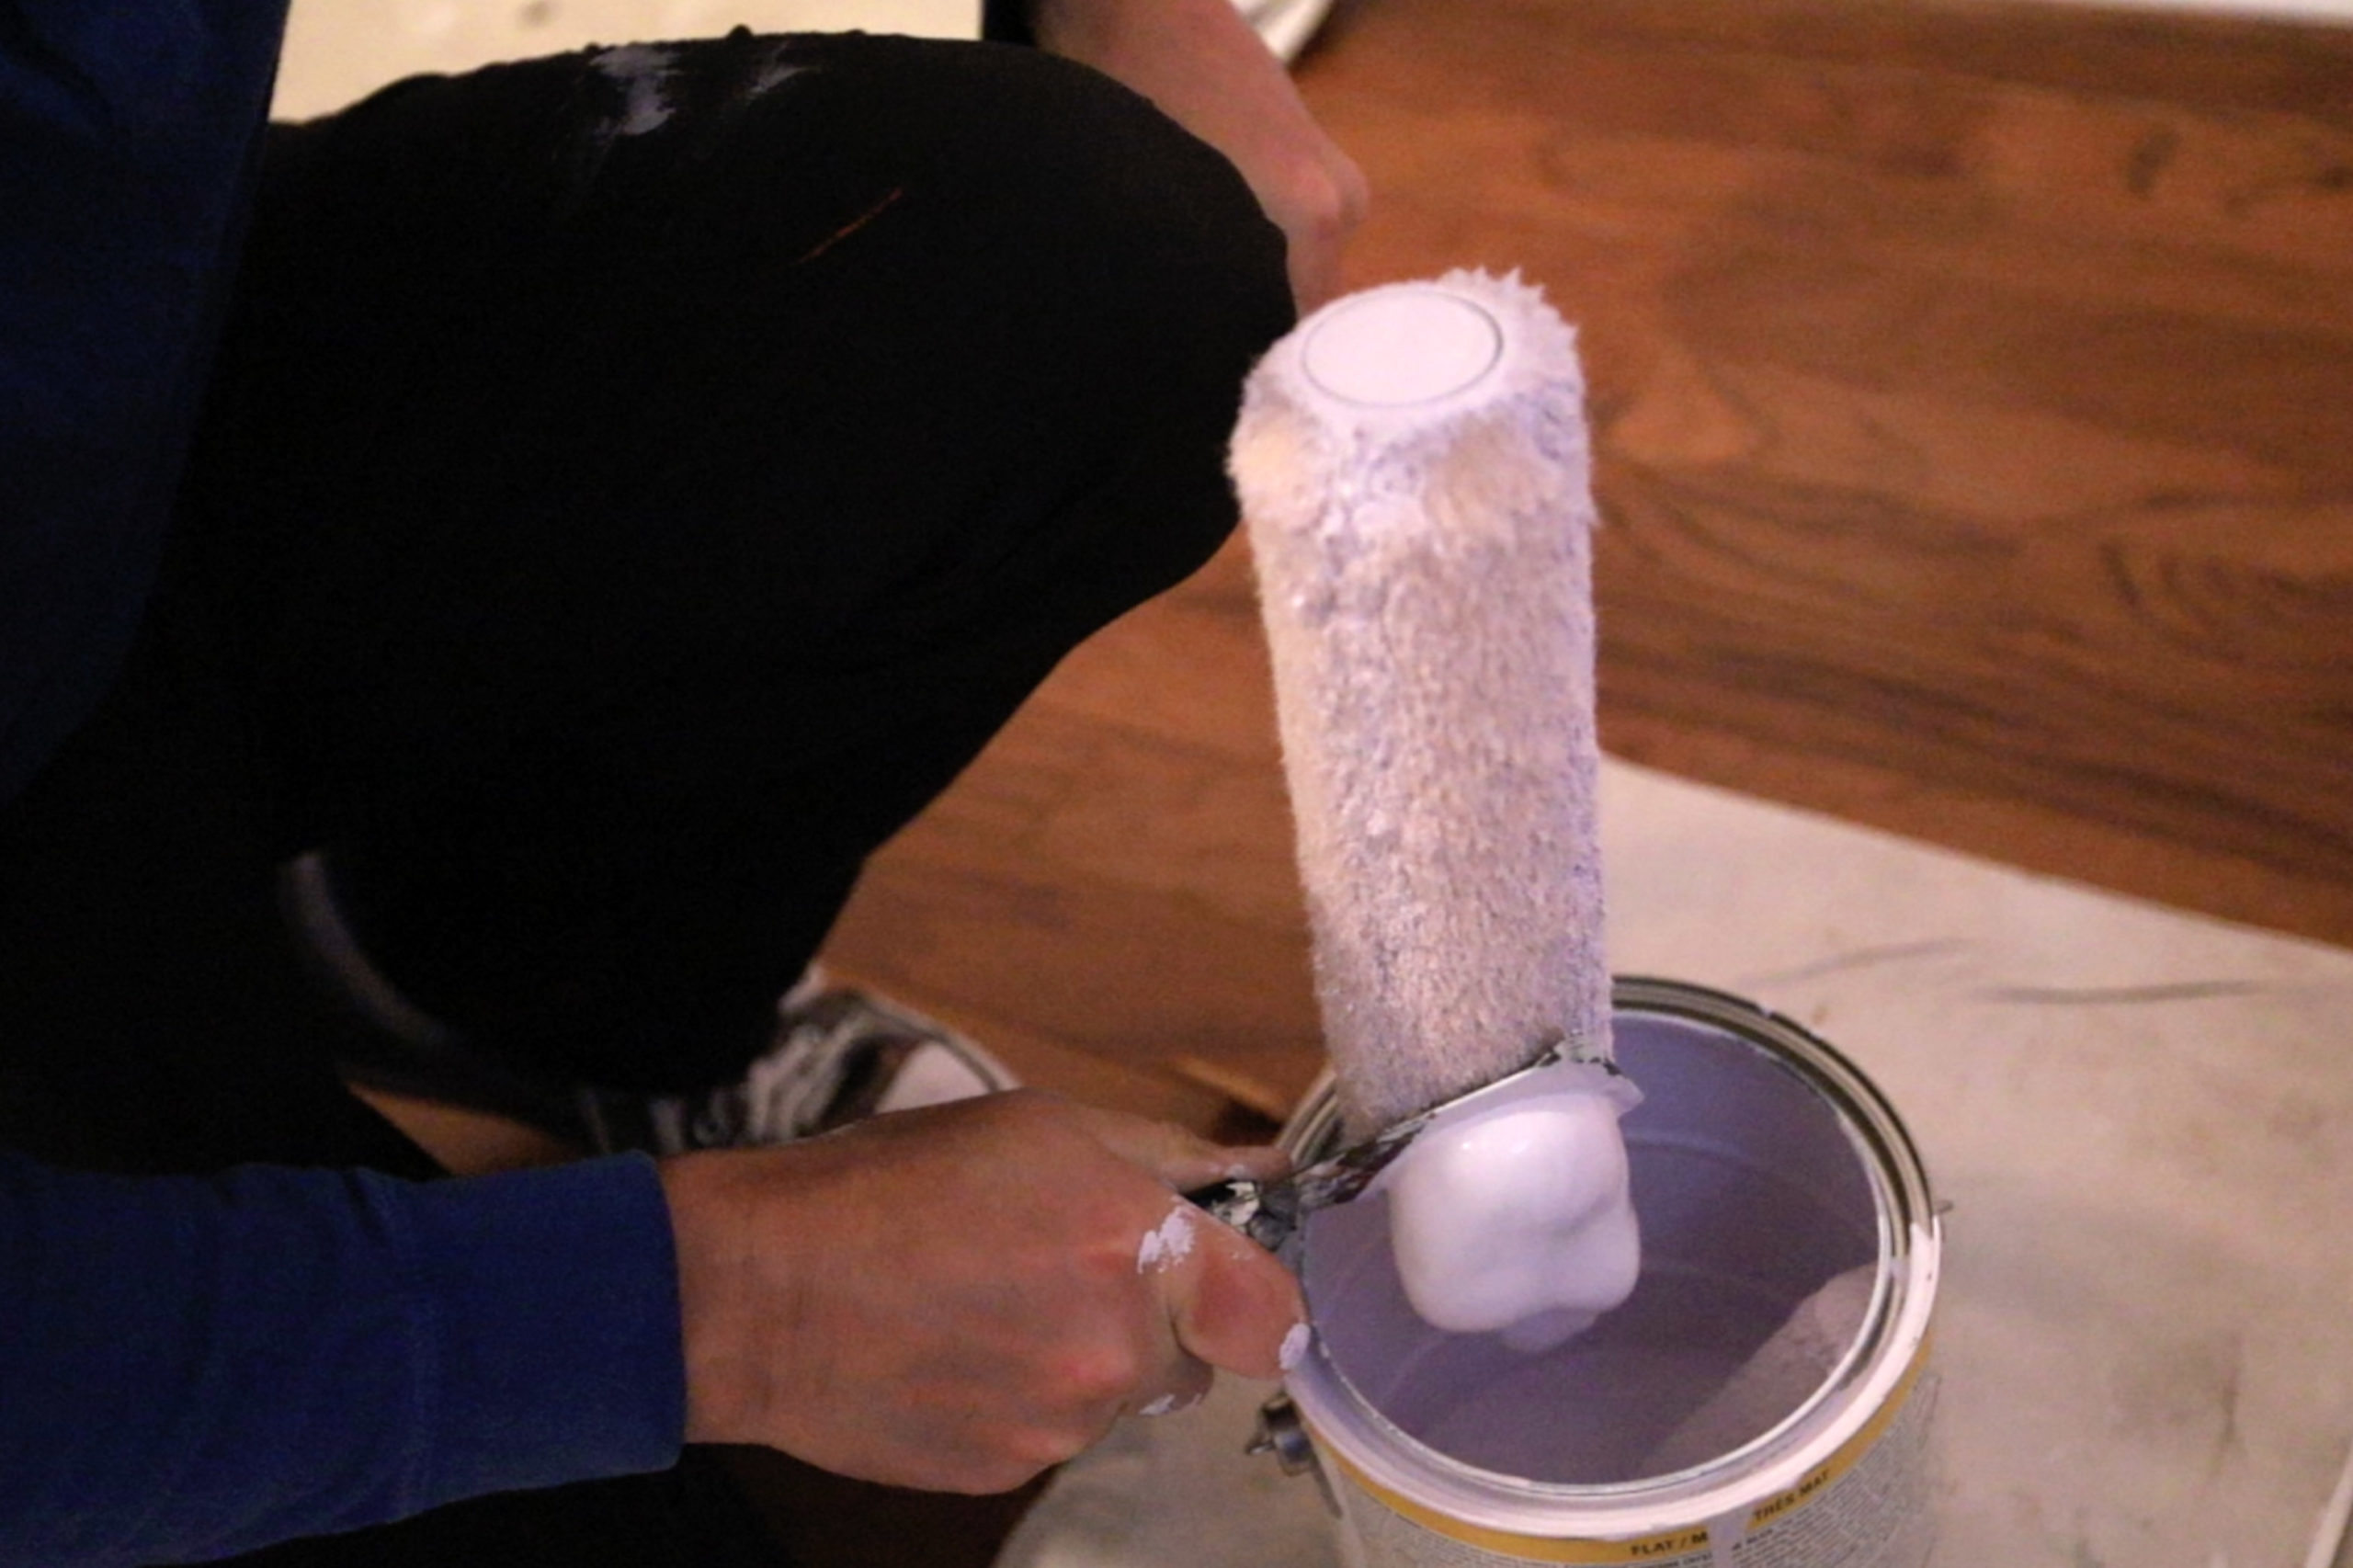
Roll the walls using a five-gallon bucket and a nine-inch roller setup. For most jobs I used a 1/2-inch nap roller, but for really big projects I’ll go up to 3/4 inch. Some people are picky about the look of the stipple—the texture caused by the roller—so if you’re one of those, choose a smaller diameter nap for the roller cover. For me, if you’re using flat sheen paint, you’ll never notice the stipple. If you’re using a matte, semi or high gloss paint, you’ll notice it every day, so it’s a personal preference.
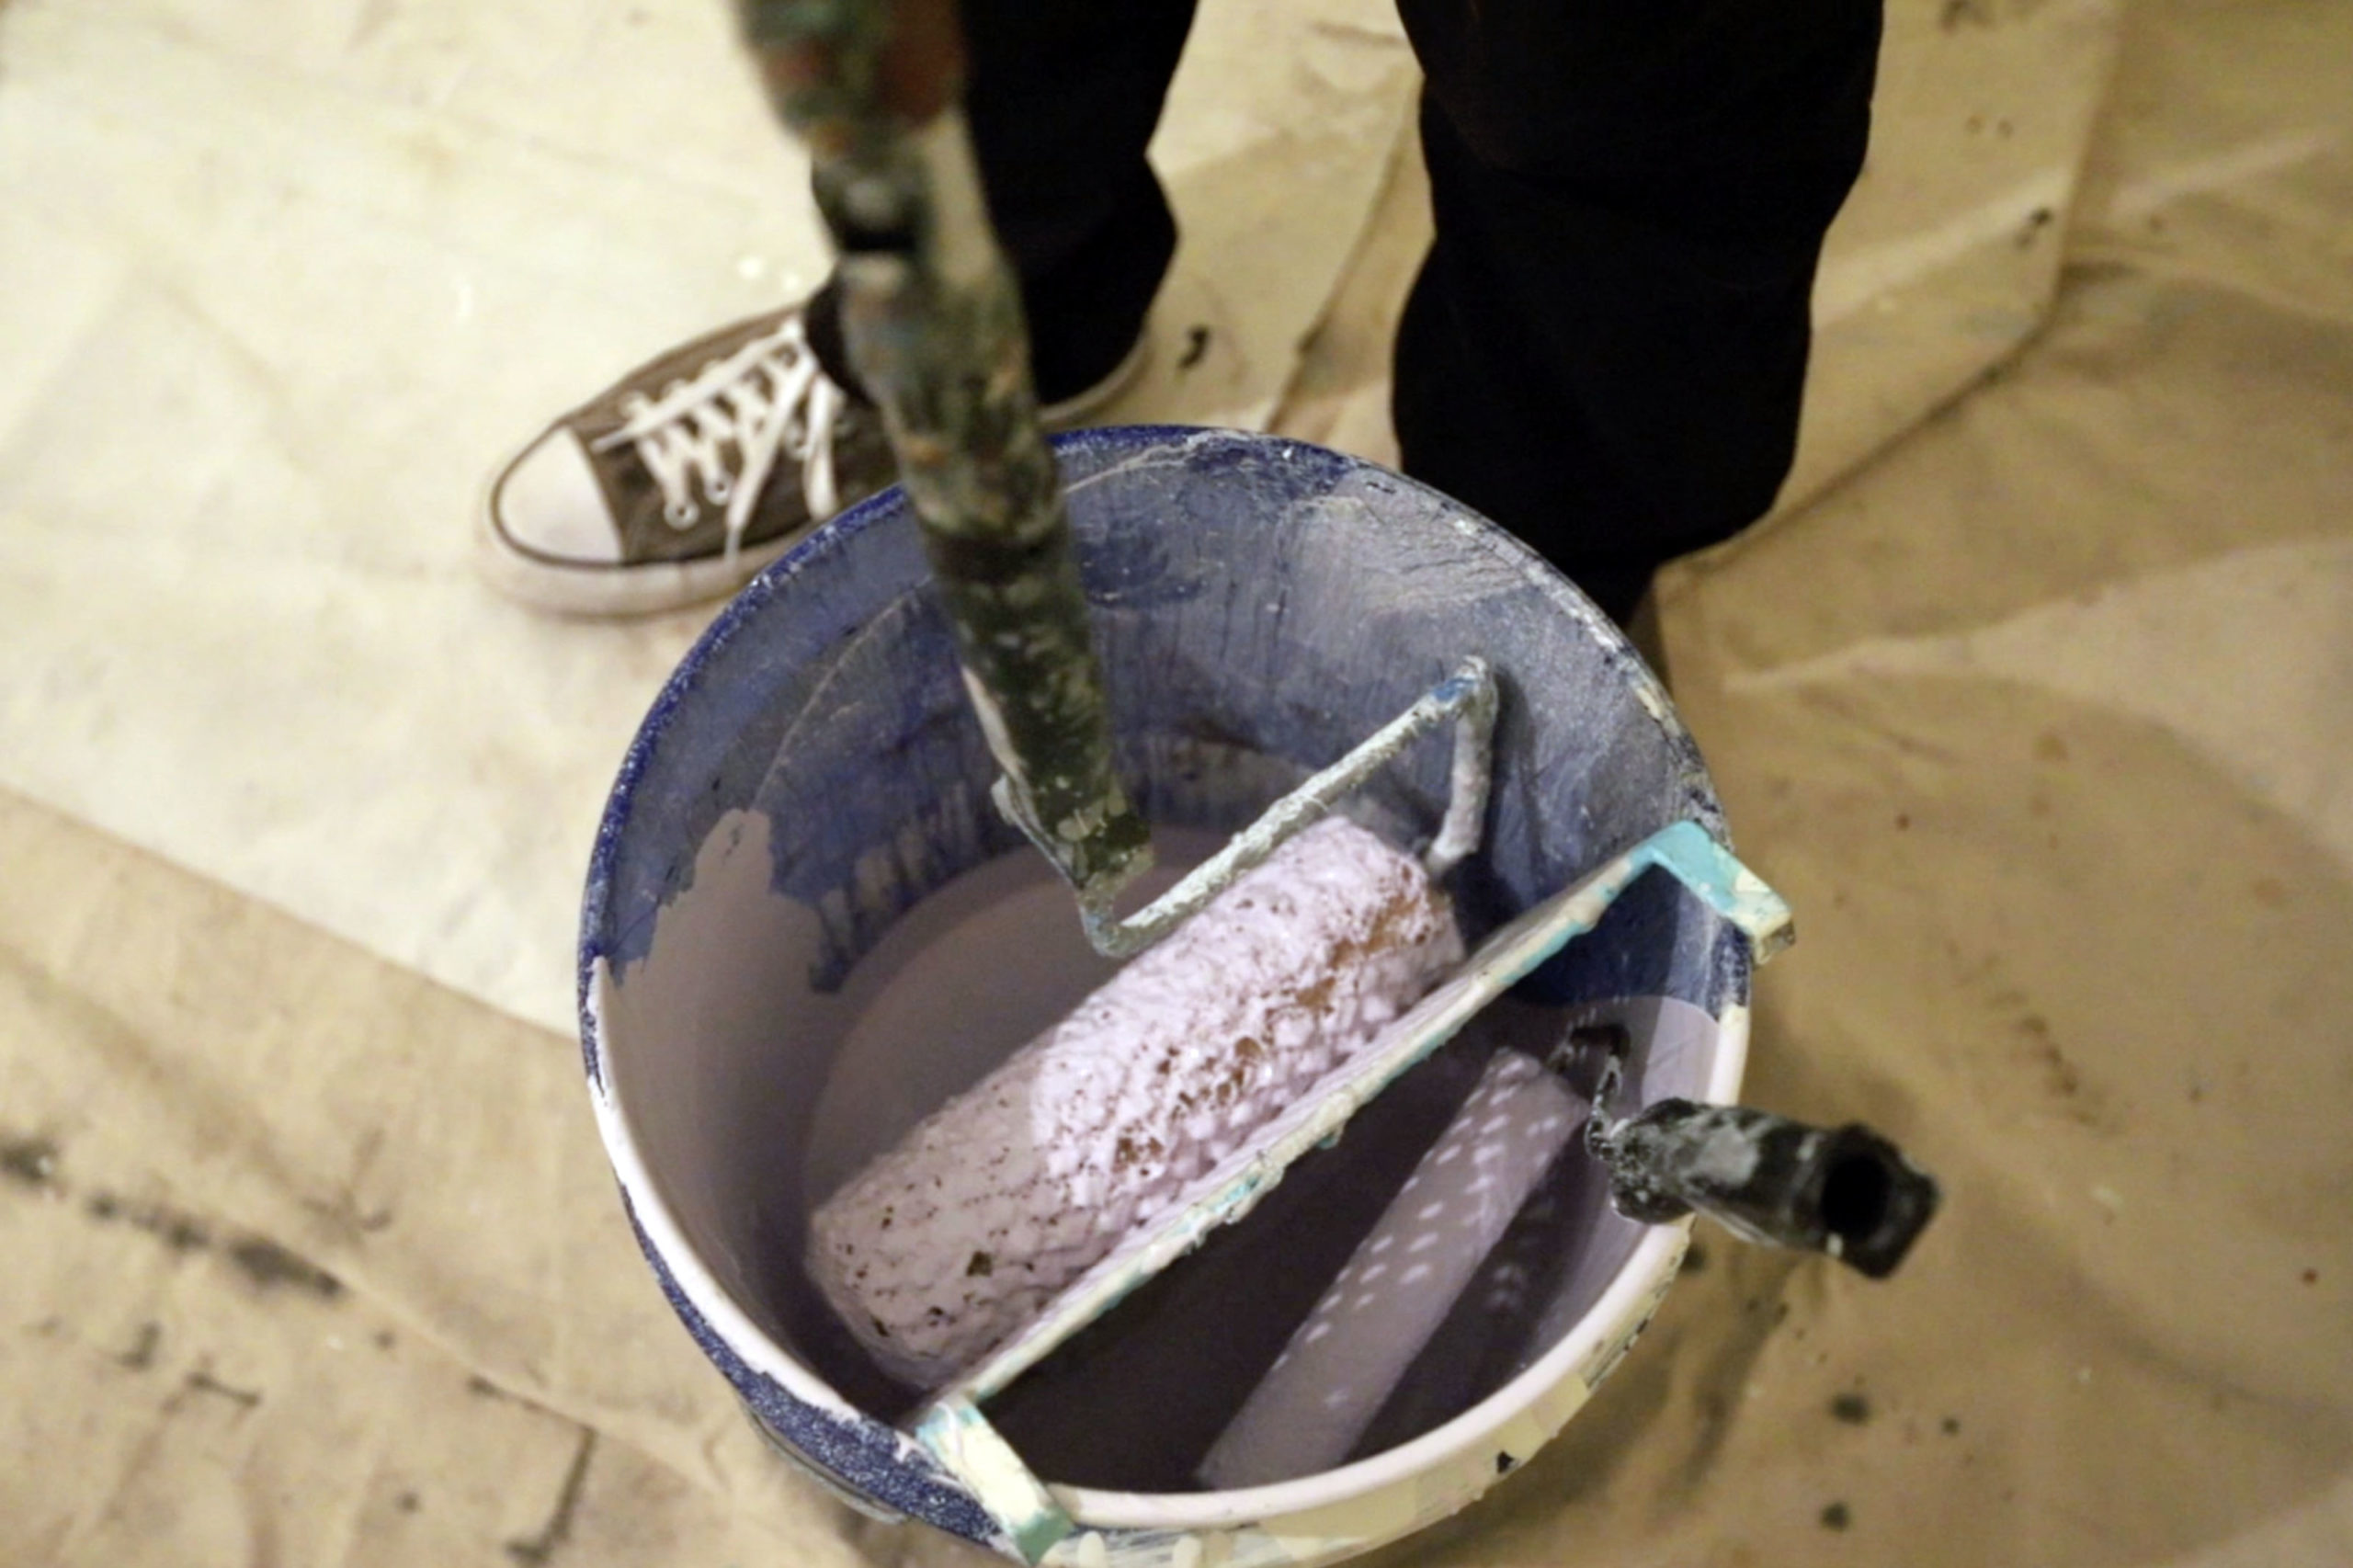
The advantage of using a larger diameter roller cover is that you’ll need to dip into the bucket less since it’ll carry more paint (smaller rollers hold less); I don’t know about you guys but I don’t like to work hard unless I have to, and working a dry roller on a wall is like going to the gym for your shoulders. Also, throw away those stupid pans the big box stores like to sell for roller setups. They’re messy, don’t hold very much paint and don’t work worth a damn.
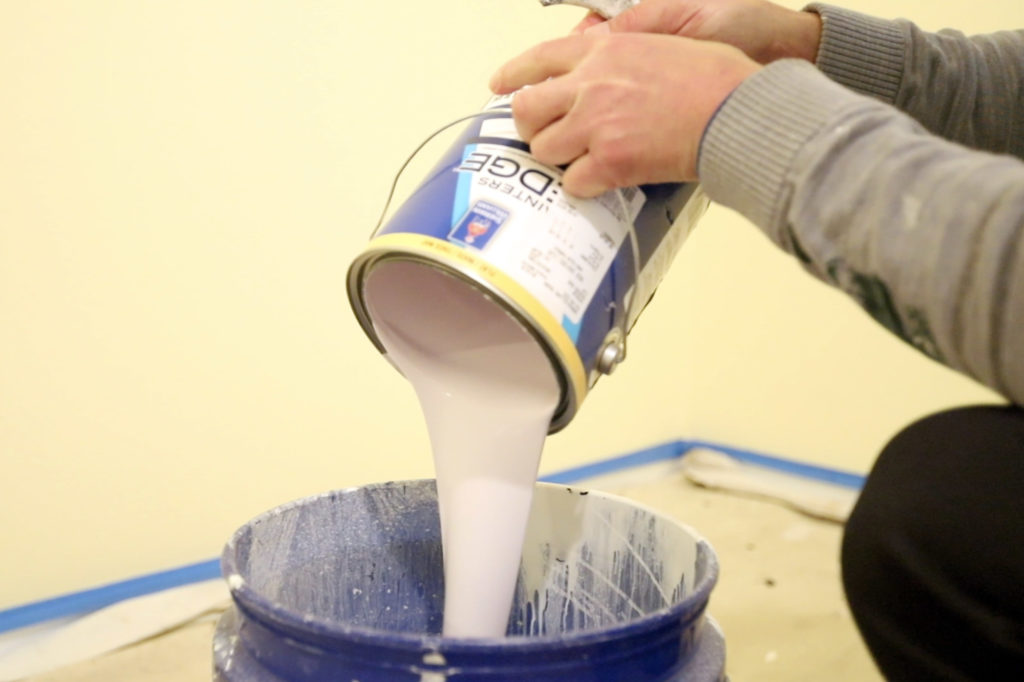
You’ll need to pour paint into them constantly, so you’ll drip all over your paint can, they slip on the floor as you try to somehow get paint onto the roller and are an actual hazard, destined to be kicked across the room or stepped in (often combined with words your children shouldn’t hear).
With a bucket setup, you can pour the entire can of paint into it, you’ll be dipping straight down along a grid frame, and you won’t murder your spouse as you wonder why this was supposed to be an easy job. It’s also handy to dip a brush into, so start off the cut in with the bucket and you’ll have everything in one place.
Rolling techniques are hard to describe in writing, but one of the more basic facts is that you’re spreading a liquid onto a flat horizontal surface. This means you’ll need to get that liquid onto the wall efficiently and somewhat evenly. I’ve painted hundreds of thousands of square feet of walls and I’m always repeating the mantra in my head “just paint it,” so getting all sensitive about how even each stroke is doesn’t do me any good. Get the material up there, then smooth it out.
You can consistently work with about two roller sections-wide at a time before the paint starts to set up and dry, but doing more is possible if you’re fast. Start out thinking that you’ll do about 18 inches wide, top to bottom, and you’ll be in good shape. I also keep a weenie roller handy for tight, weird spots, like above a window. Dip the roller and work that paint into the fluffy cover until it’s sopping wet with liquid, then start to smear it out.
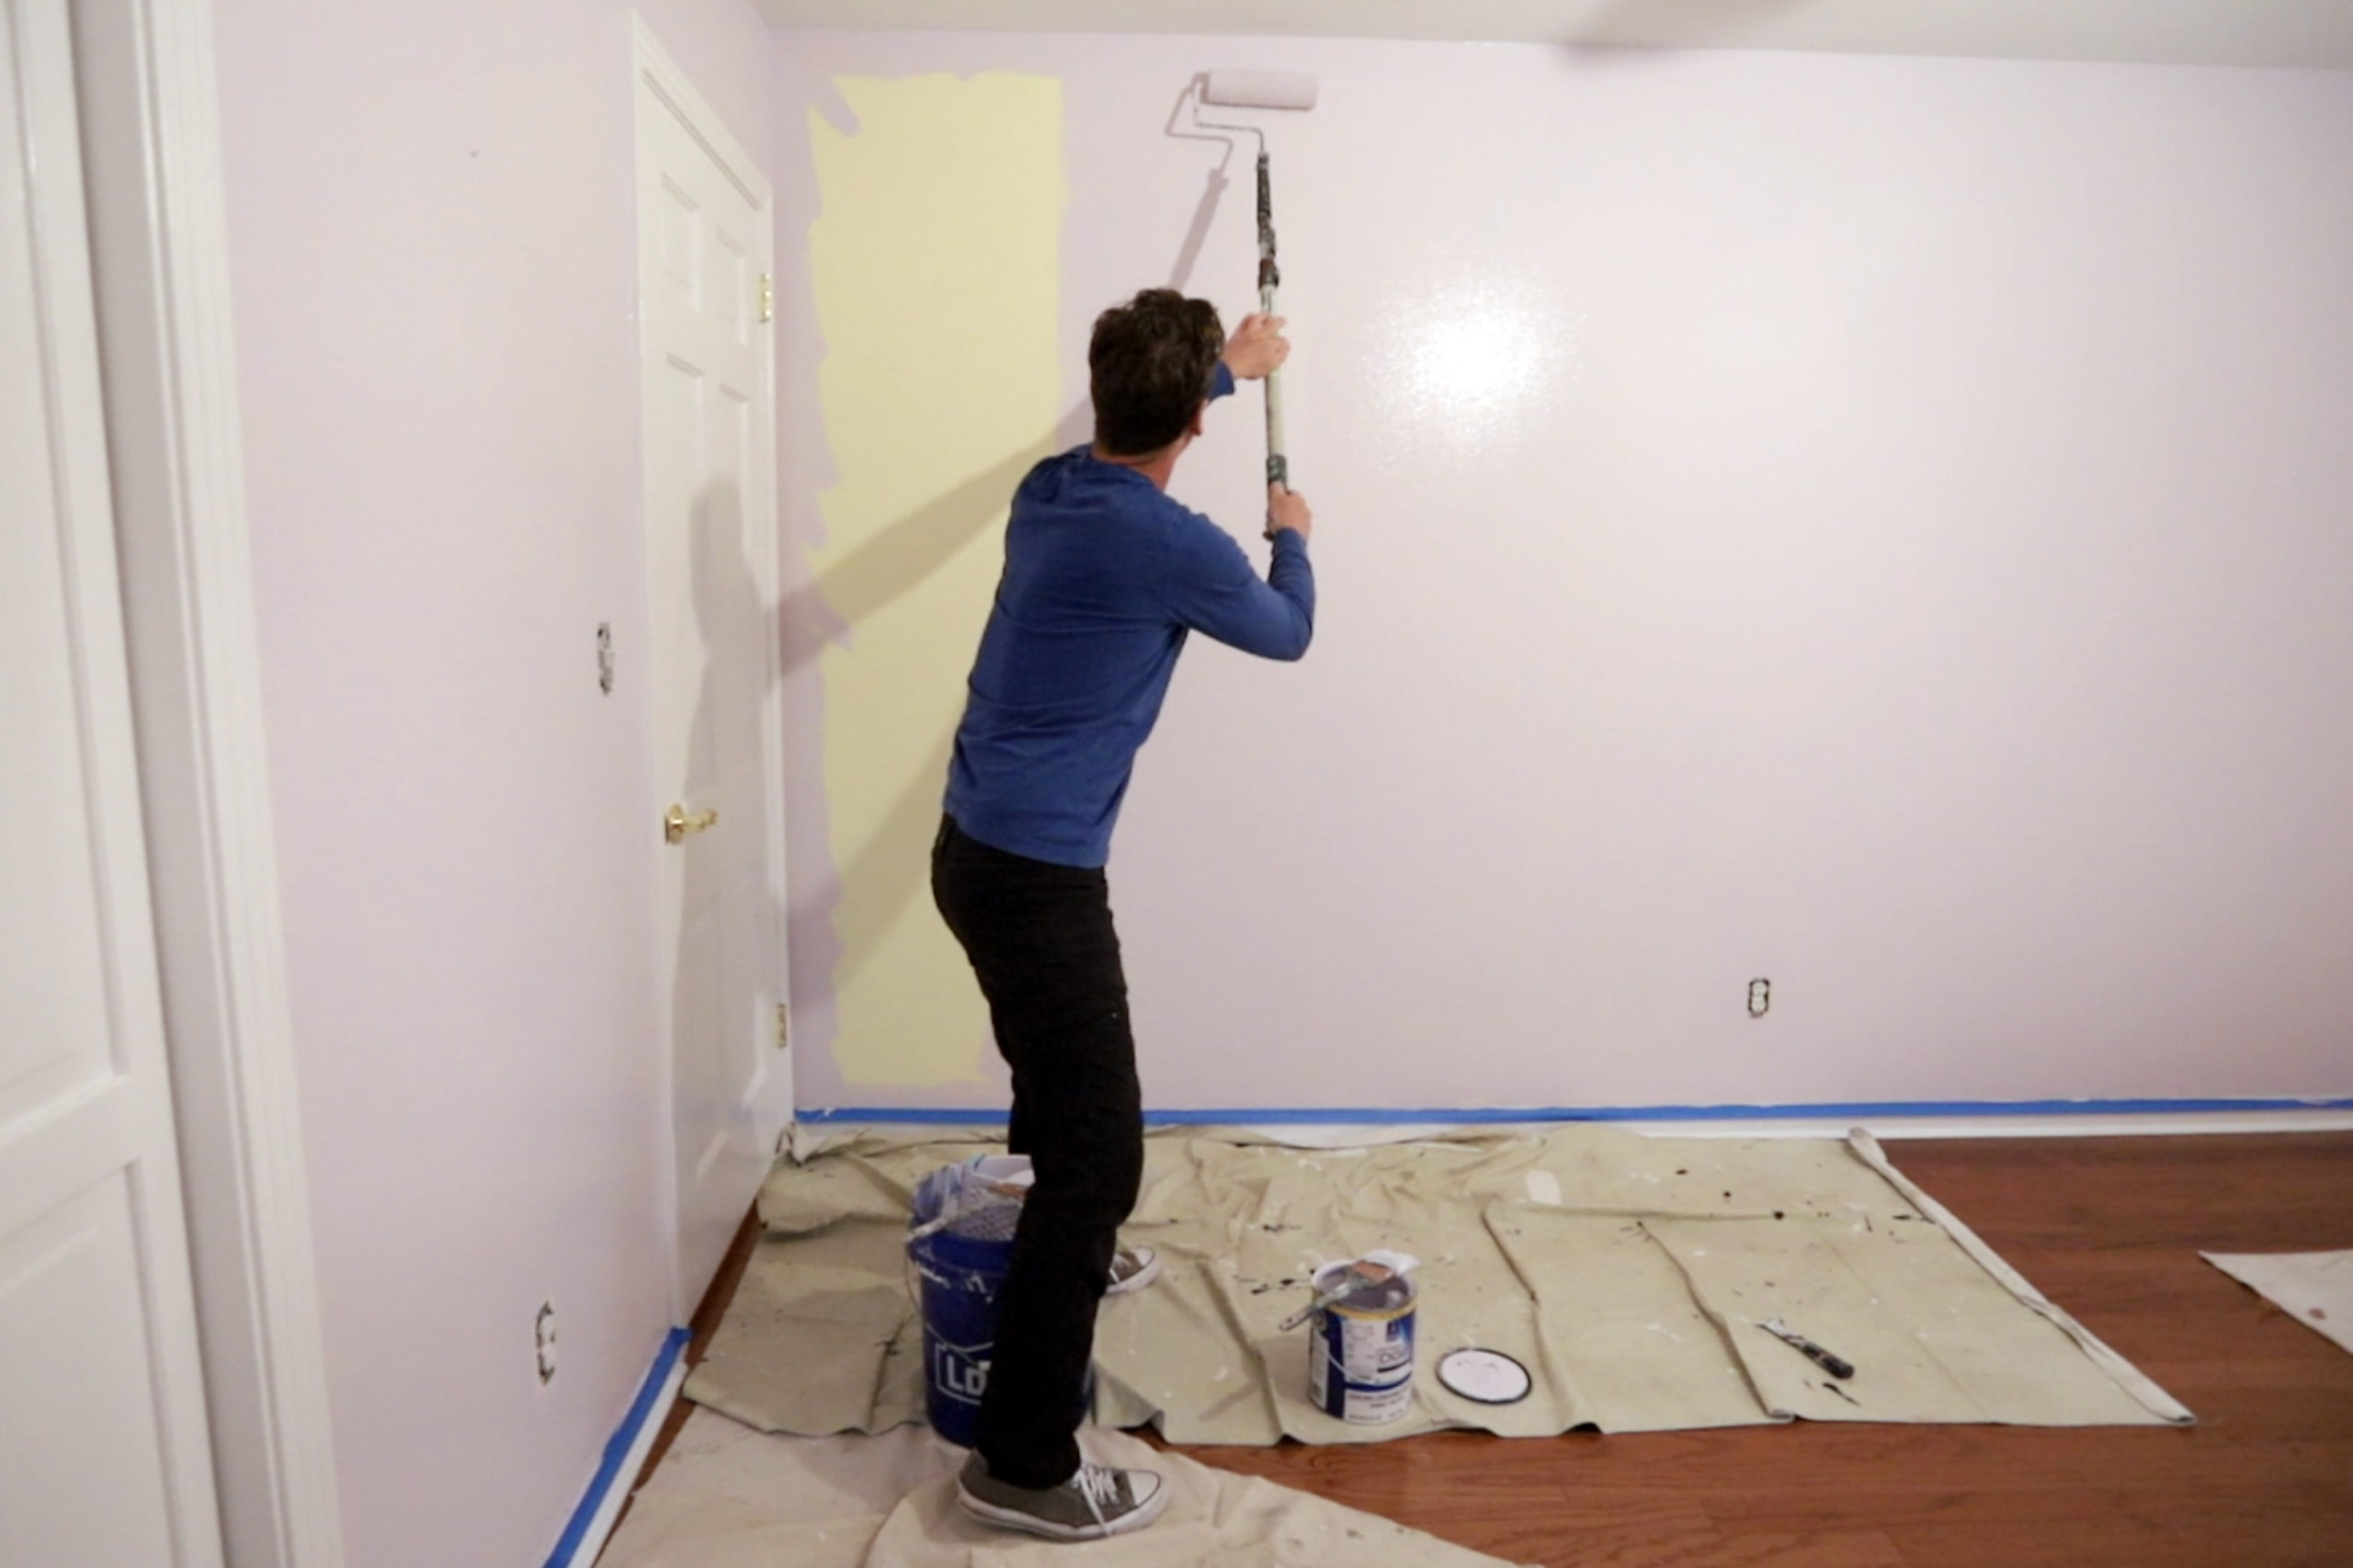
There’s no special technique or pattern to follow other than recognizing when you need to re-dip for more material. If your roller is hard to work on the wall, you need more paint. Get it all over the wall—this is painting, remember?—then go back over your last section in smooth, light-handed fashion. Your grip should be about as tight as you’d hold a kitchen knife: firm and in control, but delicate so that you’re not mashing it down.
If you find that the edges are pooling up and leaving lines on the wall, I like to tilt the whole roller onto an edge to roll that paint off then go back over it a few times, using the large flat surface area of the roller to make it pretty. By the third wall, you’ll be writing tutorials like this one so make it a practice and you’ll get the hang of it. Also, throw that damn pan into the trash already!
You’ll want to let the first coat dry, then return the following day (or a few days later, depending on your schedule) to apply the top coat.
The cleanup
Cleanup is usually why people hate to paint. It can be messy if you don’t handle it correctly, and while it’s second nature for me, it’s not intuitive the best way to handle a large amount of colored liquid and the tools involved.
I always start by scraping the roller with a 5-1 putty knife. You see that curved section? It’s for scraping rollers and will yield almost a quart of paint from your tool, so don’t miss this step.
Once you’ve done that, take the roller and paint out the grid frame to remove the heavy buildup, and place it on top of another bucket or cardboard. Then, tilt the bucket over the original paint can and lip out the remainder of the paint, being sure to get almost all of it out.
Then, place the roller and brush into the bucket and take it outside or to a bathtub and fill about half way with water. Once the roller has soaked long enough, you’ll need to wring it out a few times. For the brush—and I’m assuming you spent about $25 on a good one—use a wire brush to work the paint off the copper piece and the tops of the bristles. Rinse and repeat with hot water until you’ve restored the brush to almost new.

If you do this, your brush will last for years. If you’re lazy and are never going to do this again, save the paint in the original can and let the bucket, frame, roller and brush dry outside in the sun before throwing it all away.
Project cost
- 2 gallons of paint from Sherwin-Williams: $40 to $80
- 9-inch roller + frame: $14
- Weenie setup: $6
- Bucket: $3
- Brush: $25
- Blue tape: $6
Total cost: $106
Time involved: 90 minutes the first day, 1 hour the second day for the final coat
Because I can’t stop painting things and improving visual surfaces through other types of wall treatments, I already owned all the brushes, rollers, buckets and other miscellaneous tools needed. If you don’t have such a kit at home, expect to add another $100 to your project cost. These are good basic tools to purchase for your home, whether you plan to tackling a lot of painting projects or not, as they are versatile and can be used for other projects.
- 5-in-1: $7
- Painter’s pole: $22
- Six-foot ladder: $60
Any questions about techniques or problems you’ve run into while painting a bedroom or any space in general? I’m happy to help, as we all could use the ability to alter our environment with a little bit of liquid.
**********
Here are some other DIY homes projects you might enjoy in your downtime:
- Painting Our Victorian House: How We Did It
- How to Prep Your New Home for a Backyard Party
- How to Build a Dog Ramp for $30
- Buying & Renovating a Rental Property: A Homeowner Tell-All
- Home & Garden: Building DIY Planters
PIN IT! SAVE THIS POST FOR LATER


Thank you! This is an awesome tutorial and I definitely feel more confident in tackling several rooms in our new home. The audio on the video was really low, but the visuals were a really helpful supplement to the article text. It’s amazing how much paint SVV got off with the putty knife!
Learn how to use an angle brush and your work cleaning up the sloppiness of relying on blue tape as a line guide will be a lot less! Also, it makes the job a lot less work, period. Taping off trim and ceilings is a hassle, y’all. Avoid it if you can, and keep your tarps kicked up tight against the wall.