
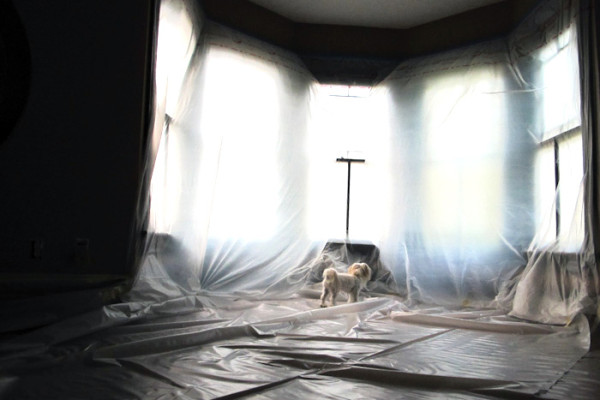
Two years ago this month, we closed on what is now referred to as the Cedar House, a one-story, midcentury-style home that is not actually in the mountains contrary to what you may think, but rather a golf course community in rural Tennessee. And while I thought nothing could be more difficult than the seven years we spent renovating an 1800’s Victorian, it turns out that renovating a house made of wood poses its own unique set of challenges.
Truth be told, I had planned so many Cedar House blog updates during lockdown, but we’ve wound up spending a whole lot of time with our hands busy laboring over renovations and significantly cut back on our time in front of the screen, which isn’t necessarily bad (and one of these days, I promise I will catch up and break each project down into individual posts!). In the meantime, you can follow along on the house progress via Instagram Stories in real time.
The challenges of renovating a house made of cedar
When we were renovating the Victorian, the frustrating part was that any seemingly small project had to be preceded by six other projects of varying degrees of difficulty due to the age and nature of the home. Want to fix a leak in the basement? First, you have to rip out the entire bathroom above it. Want to remove the moist, musty feel of the interior? First, you’ll need to tear off the exterior siding and repair the flashing that was installed wrong.
The nice thing about Cedar House is that many of the upgrades have been stand-alone projects, meaning we’ve completed a whole lot more of them in full, but as any homeowner can attest, a bevy of other challenges pop up at any given time.
Punching holes of any kind is a major pain
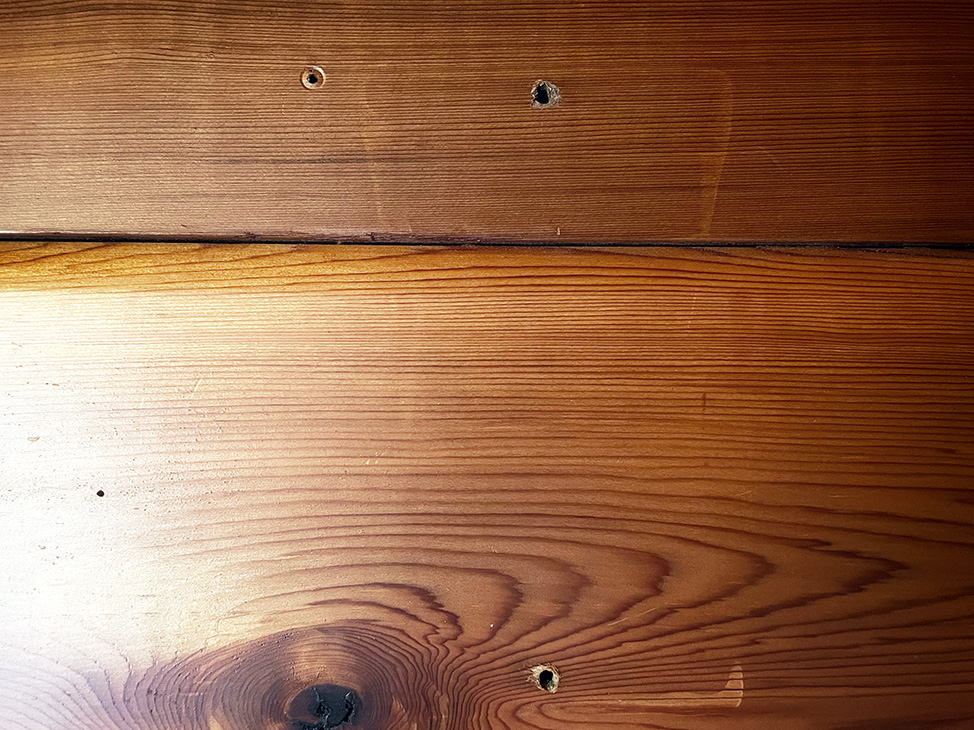
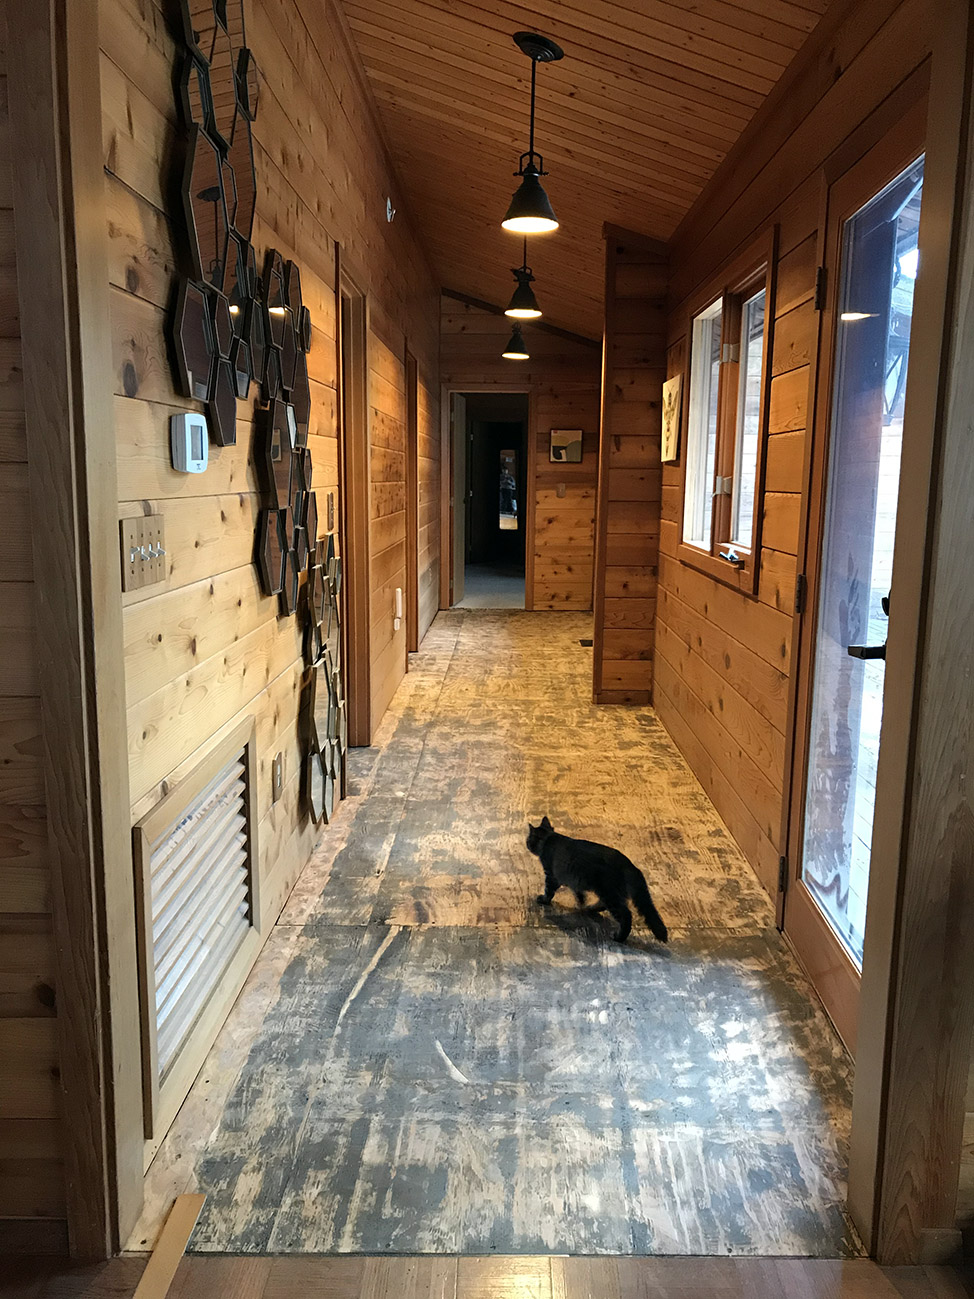
In the Victorian, we never worried about hanging a mirror or painting because we could always patch the hole if we wanted to mix things up. At the Cedar House? Every punch is a permanent hole in the wood—and the previous owners already left plenty of those behind. Oof.
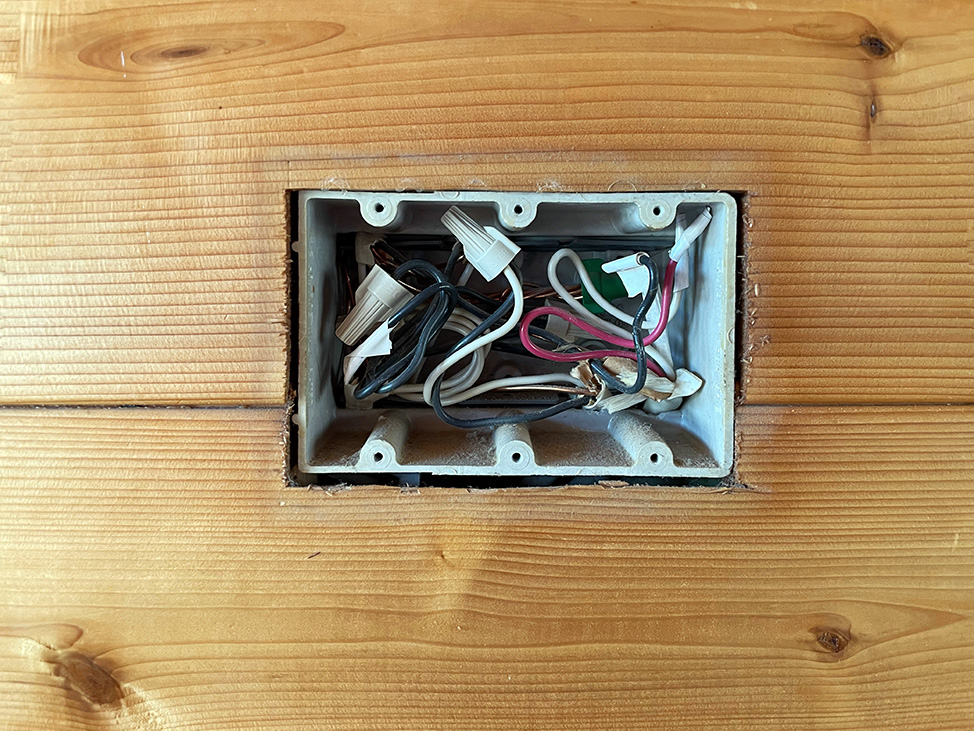
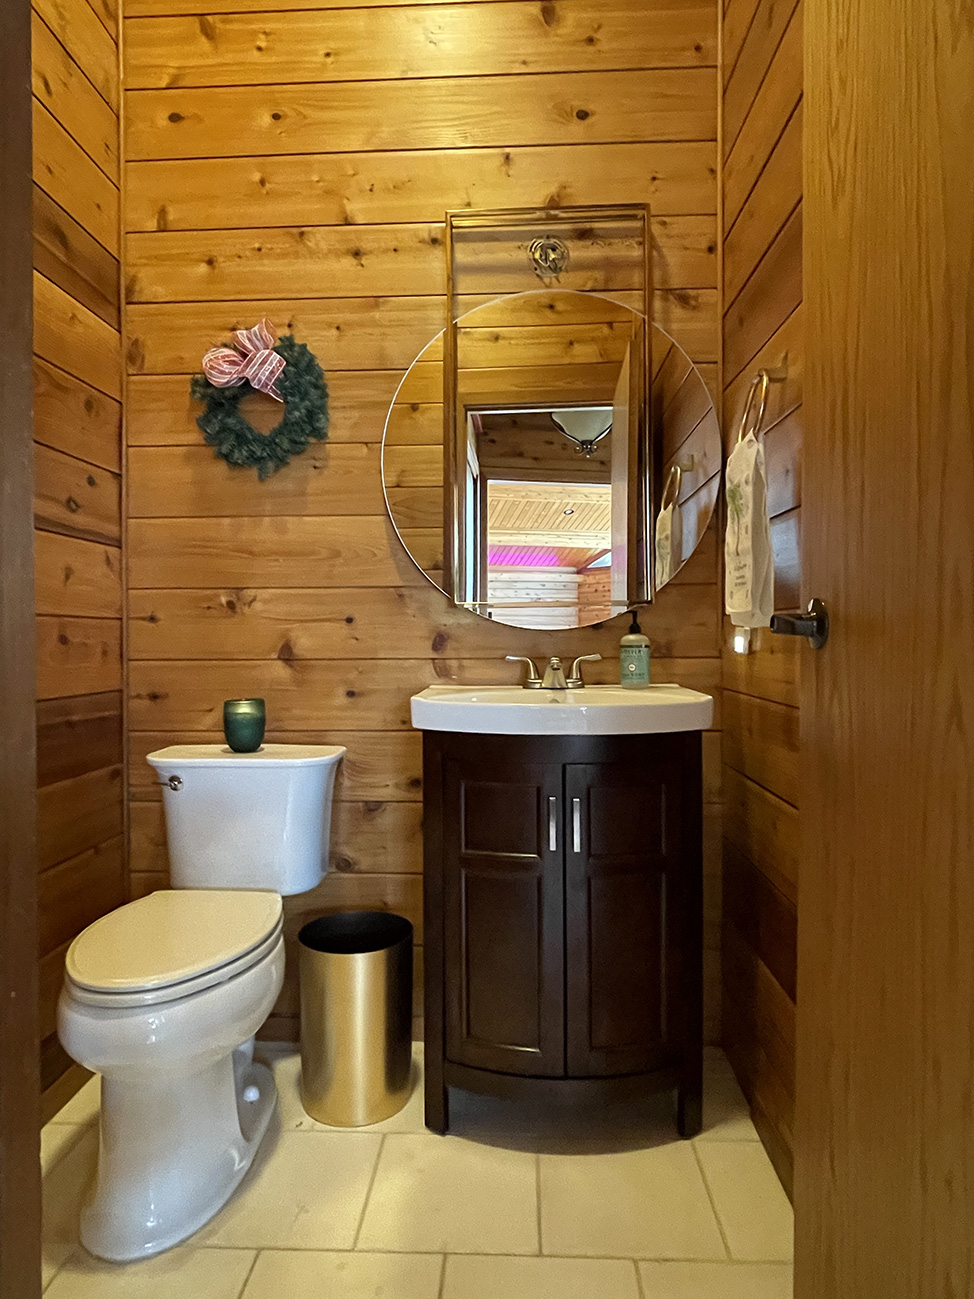
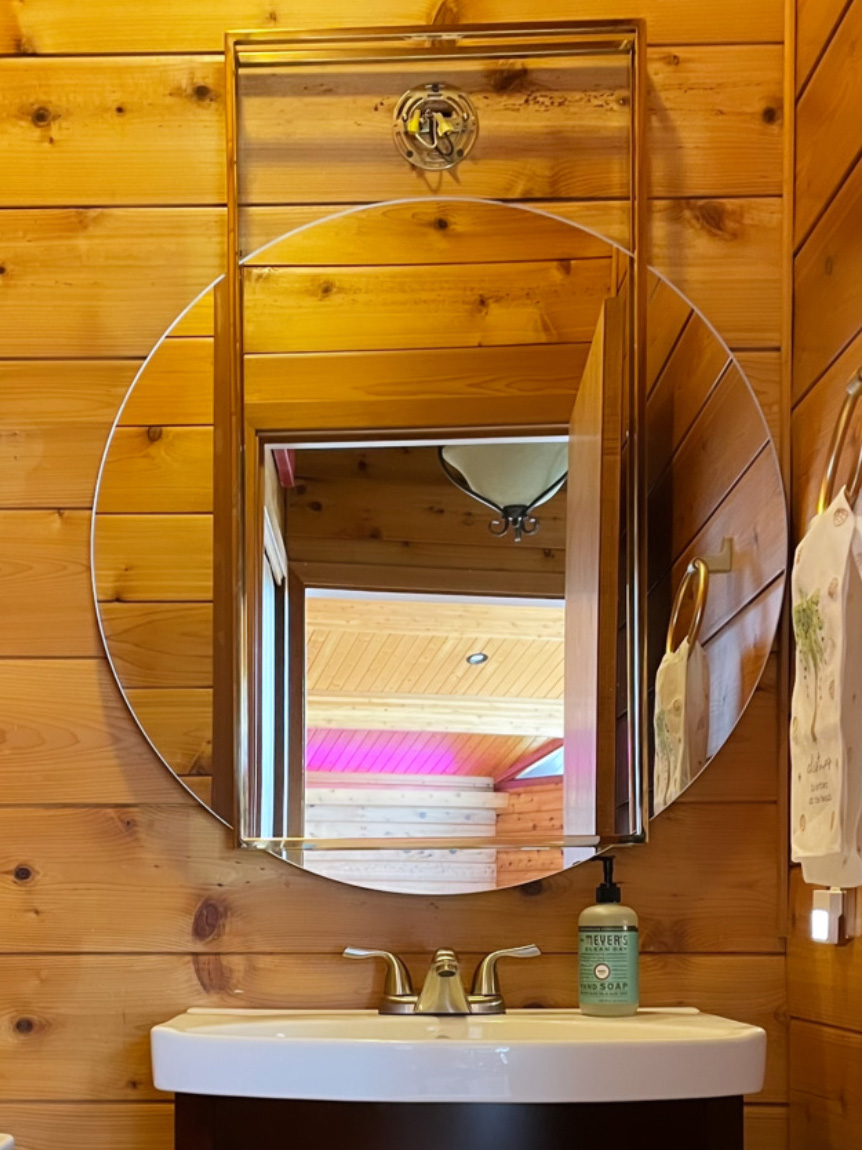
Case in point: We finally removed the ugly vanity mirror in our powder room in favor of a much more modern CB2 mirror that’s been propped up in our entryway for a whole year now. But now there’s a massive hole where the light fixture went; we can’t move the mirror up to cover it because then it would be too high, and a light won’t fit through the opening in the mirror.
Ditto to all the lighting and outlets we’ve removed; the result is gaping holes in the walls and ceiling, which eventually we will strategically cover with art and other lighting if possible. However, in the meantime, we’ve had to be more mindful of where we drill holes—usually in the crack between boards—or like in the case of our TV, have it on a temporary stand until we can figure out a more permanent solution.
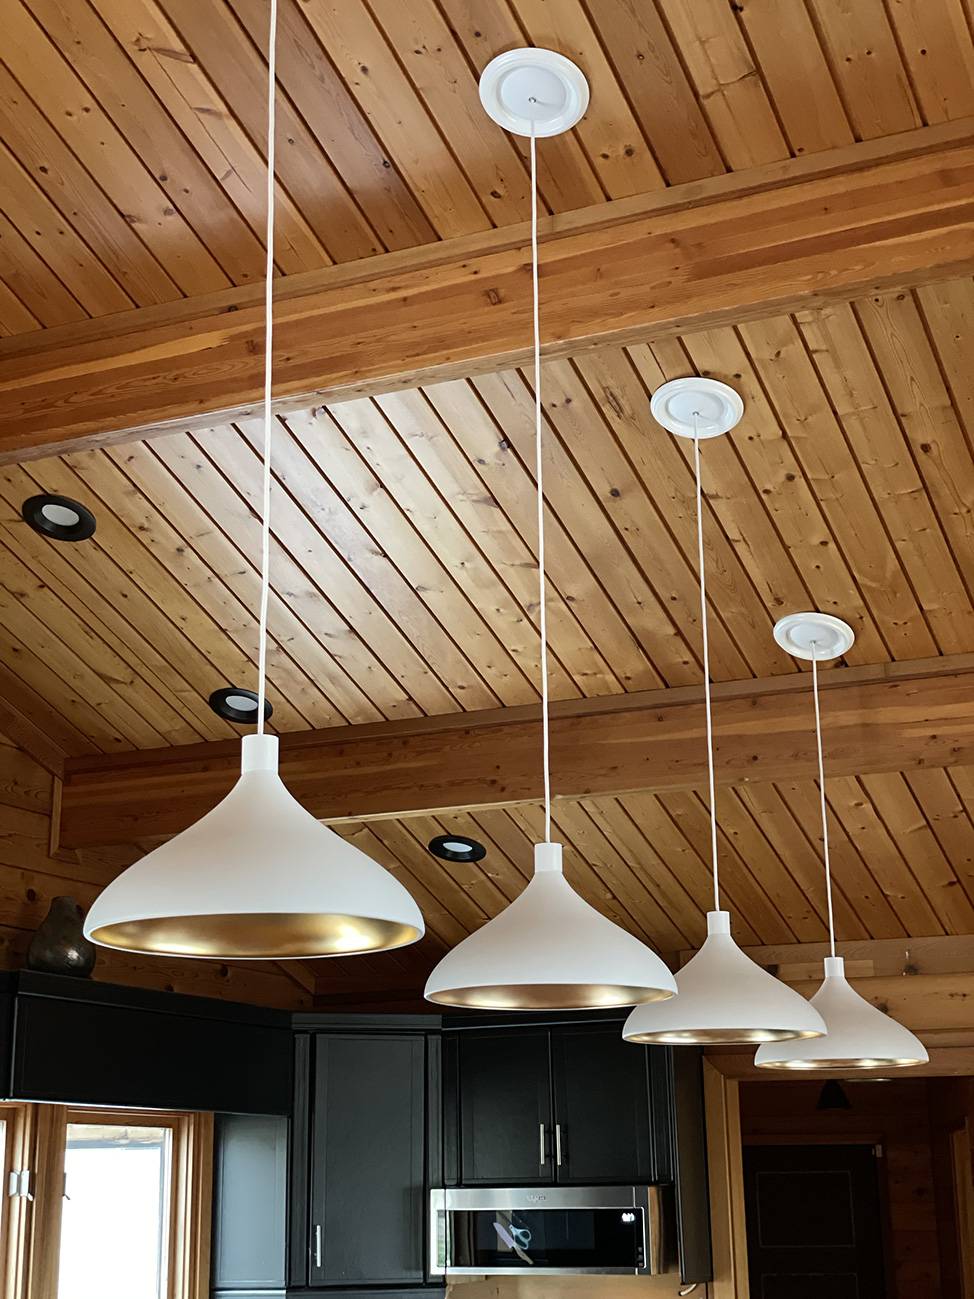
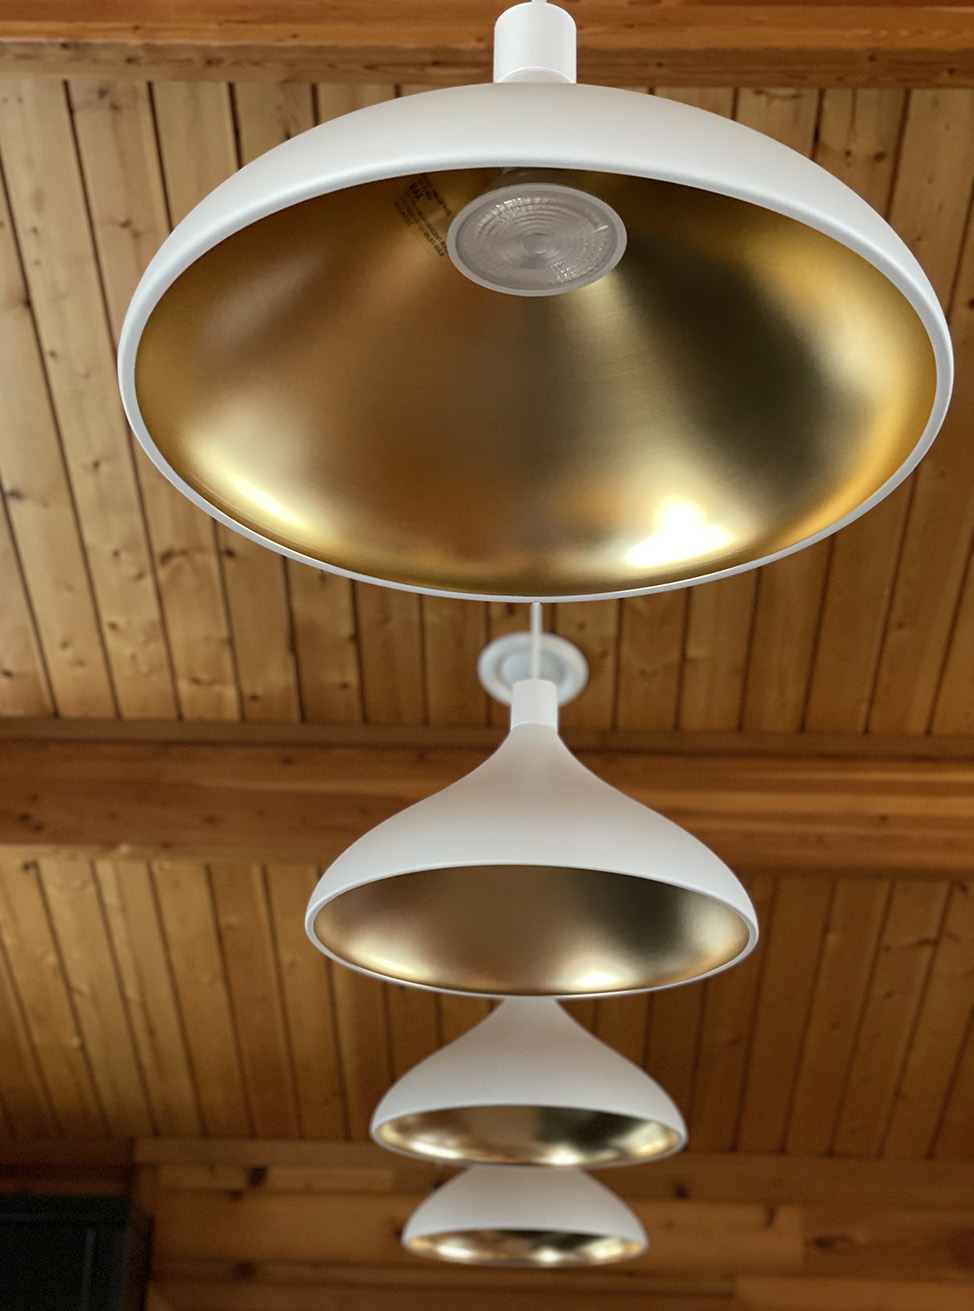
Lighting is expensive
We have amazing natural light during the day and basically no light at night because we ripped out the awful track lighting used throughout the great room. The problem? Once again, there are so many holes the builders punched in for can lights that we can’t just rip them out and retrofit them with something better. The slant of the ceiling rules a lot of light fixtures out that don’t have the right base or adjustable cord, and since the roof is right behind the ceiling, unless we were to commit to removing the paneling to run new wires (we’re not), the only option is to work with what we’ve got.
Also? Lighting is pricey. We’ve bought four lights for the kitchen and five for the hallways, and that about broke the budget—we still have two offices, two bedrooms and three bathrooms that need lighting, too. If you have an economical solution for lighting that isn’t an eyesore, let me know!
Bugs love a wooden exterior
The number of carpenter bees I’ve killed this past year as they ate their way though the walls of my house is embarrassing. Let’s just say we keep my old tennis racket handy, and it’s served us well, as have these carpenter bee traps.
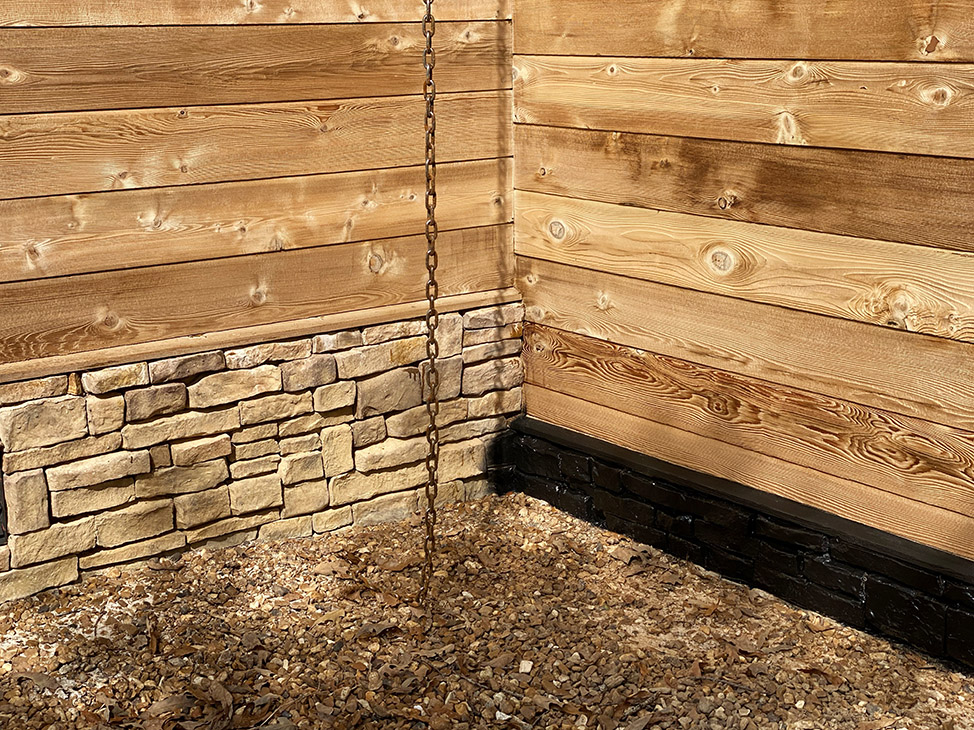
See those shavings on the ground? A telltale sign bees are chewing their way through your home. This wall has dozens of carpenter bee holes in it.
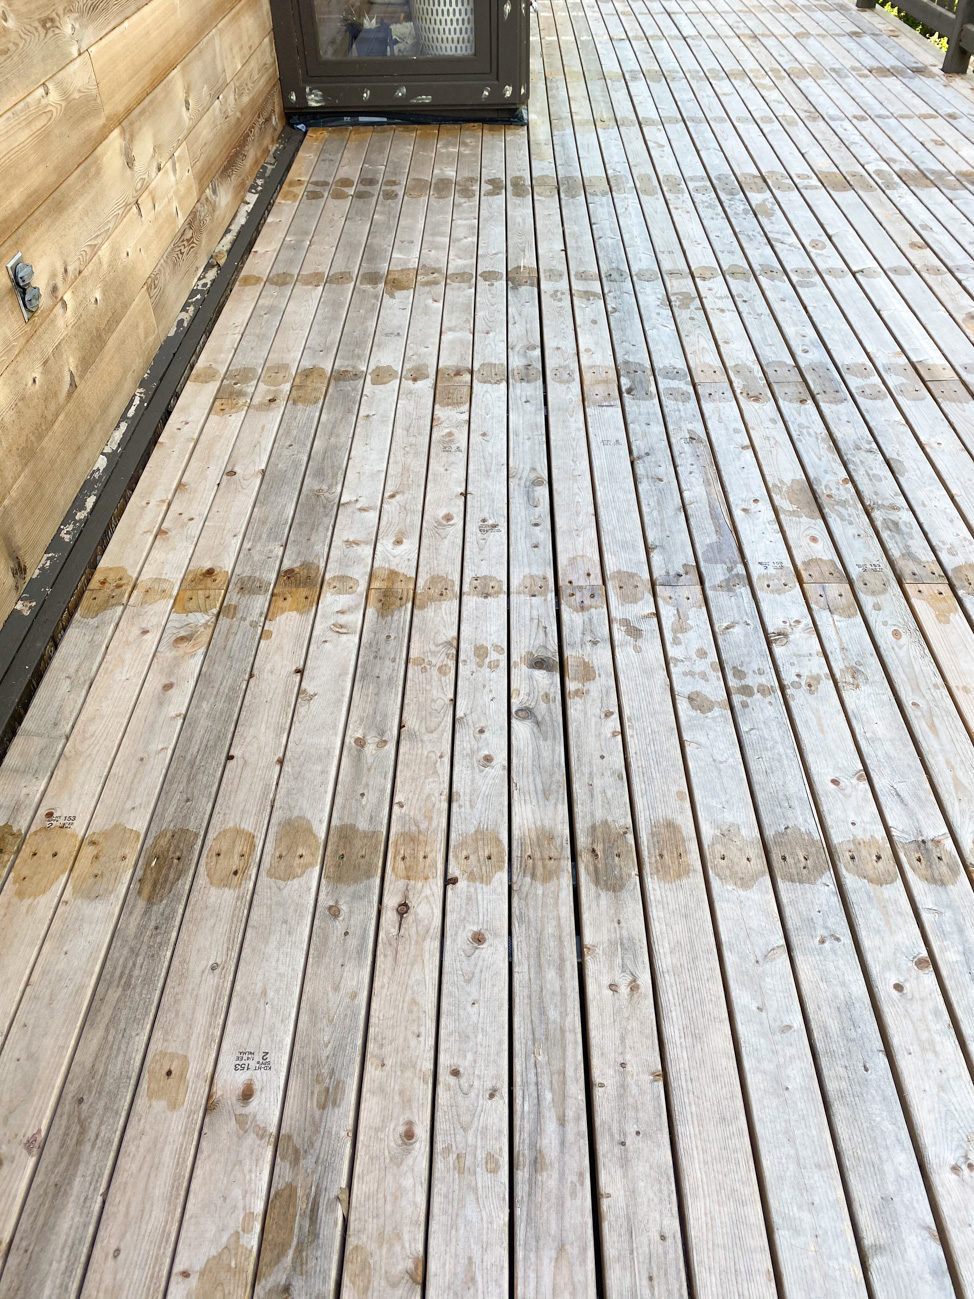
But it’s not just bugs. Mold, especially in the South, loves to feast on our wooden home, no matter how often we wash it down. We did apply an old school mixture of water, boric acid, linseed oil soap and NGS (i.e. pure moonshine!) to prevent further deterioration before starting to brush the entire wood down with the first coat of pine tar vitriol, but even then, below is the state of the mold on the unpainted wood less than two months AFTER finishing the pressure-washing.

But, here’s what we’ve accomplished to date
Lest I make you think renovating a wood house is all bad, it’s not! We’ve had plenty of successes in the past two years. The first year we were in the Cedar House, we mostly tackled small cosmetic improvements—landscaping, replacing all 50+ switch plates and outlet covers, building out our garage and shop, ripping out all the ugly 90’s light fixtures as we rerouted the wiring to a formulation that made more sense. We always had big plans to renovate the Cedar House over time of course, but the bigger tasks just didn’t make sense with a travel schedule that exceeded 150 days on the road annually.
And then the pandemic hit.
While we’ve been fortunate enough to still have plenty of work that pays our bills, this past year of being home really gave us the blessing of time. Gone were the 80-hour work weeks, replaced by more flexible schedules of a few hours in front of the computer here, a few hours outside working on the house there. Here’s a thumbnail sketch of what we accomplished in that time.
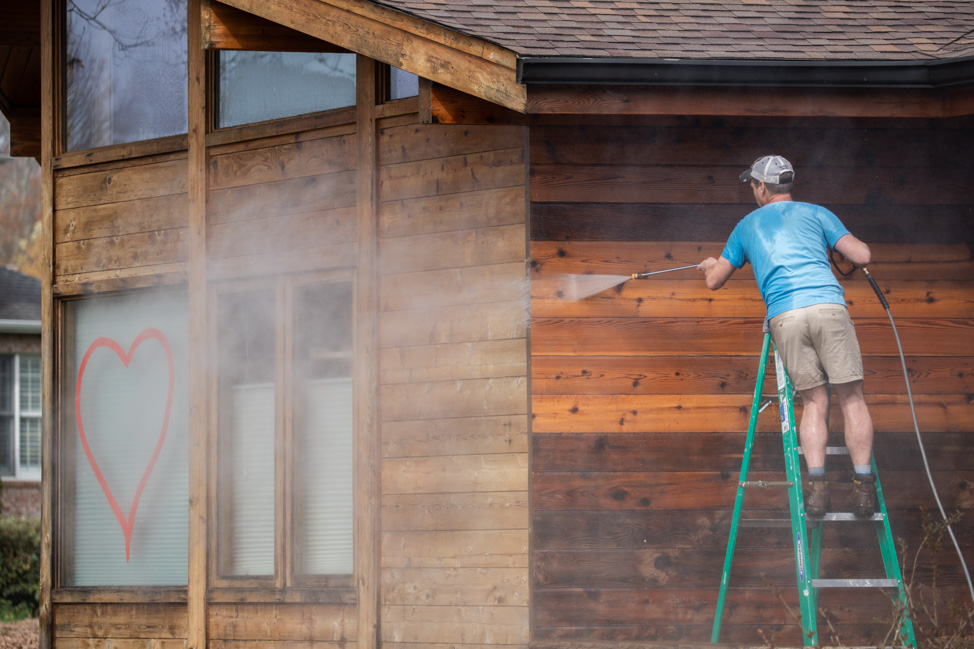
We pressure-washed the whole house
If this sounds like an easy task, again, you have never lived in an all-wood house where the previous owners neglected to keep up with regular maintenance. It took us 14 full days spread out over three months—during which we rented a 4000 PSI pressure-washer for each session—and a whole lot of an eco-friendly cedar wash to remove decades of neglect, pollen, dirt, mold and varnish. It wasn’t cheap, and it most definitely wasn’t easy. It was also really, really, really dirty.
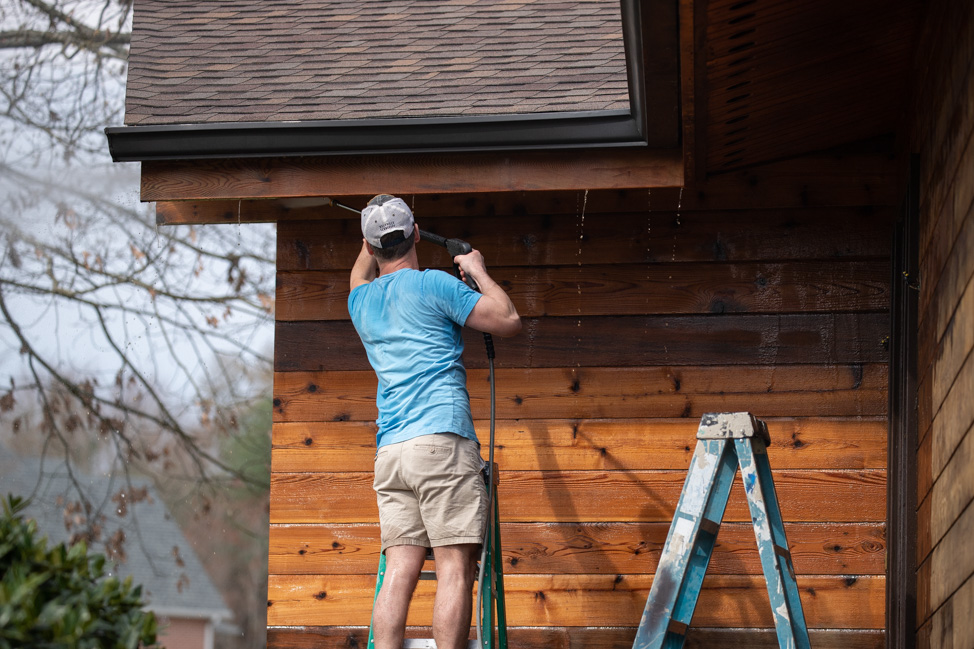
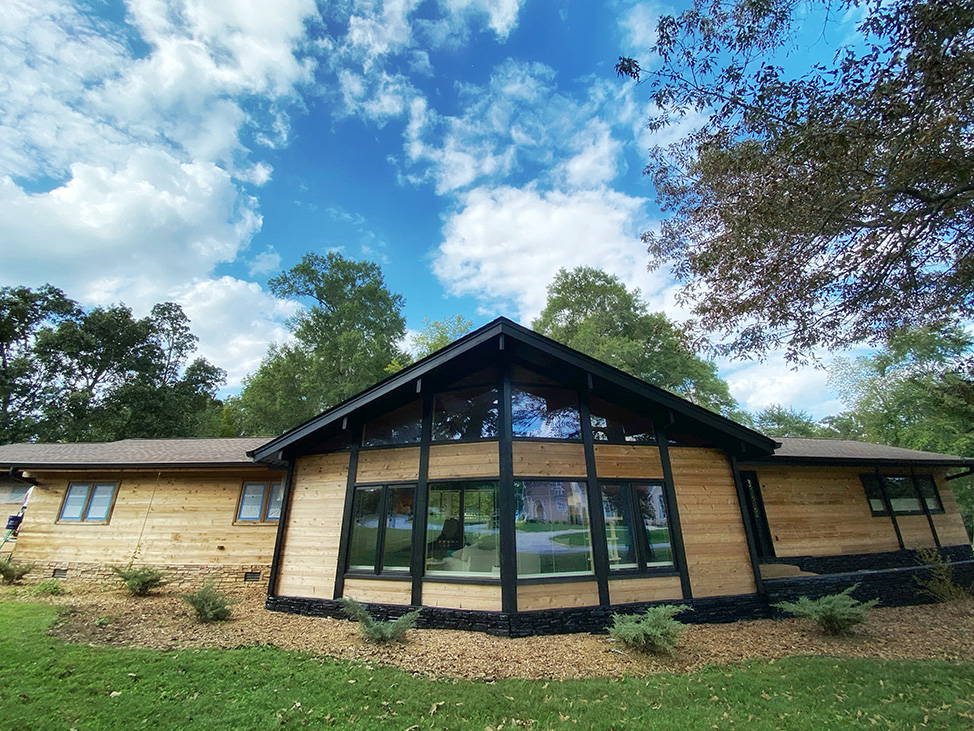
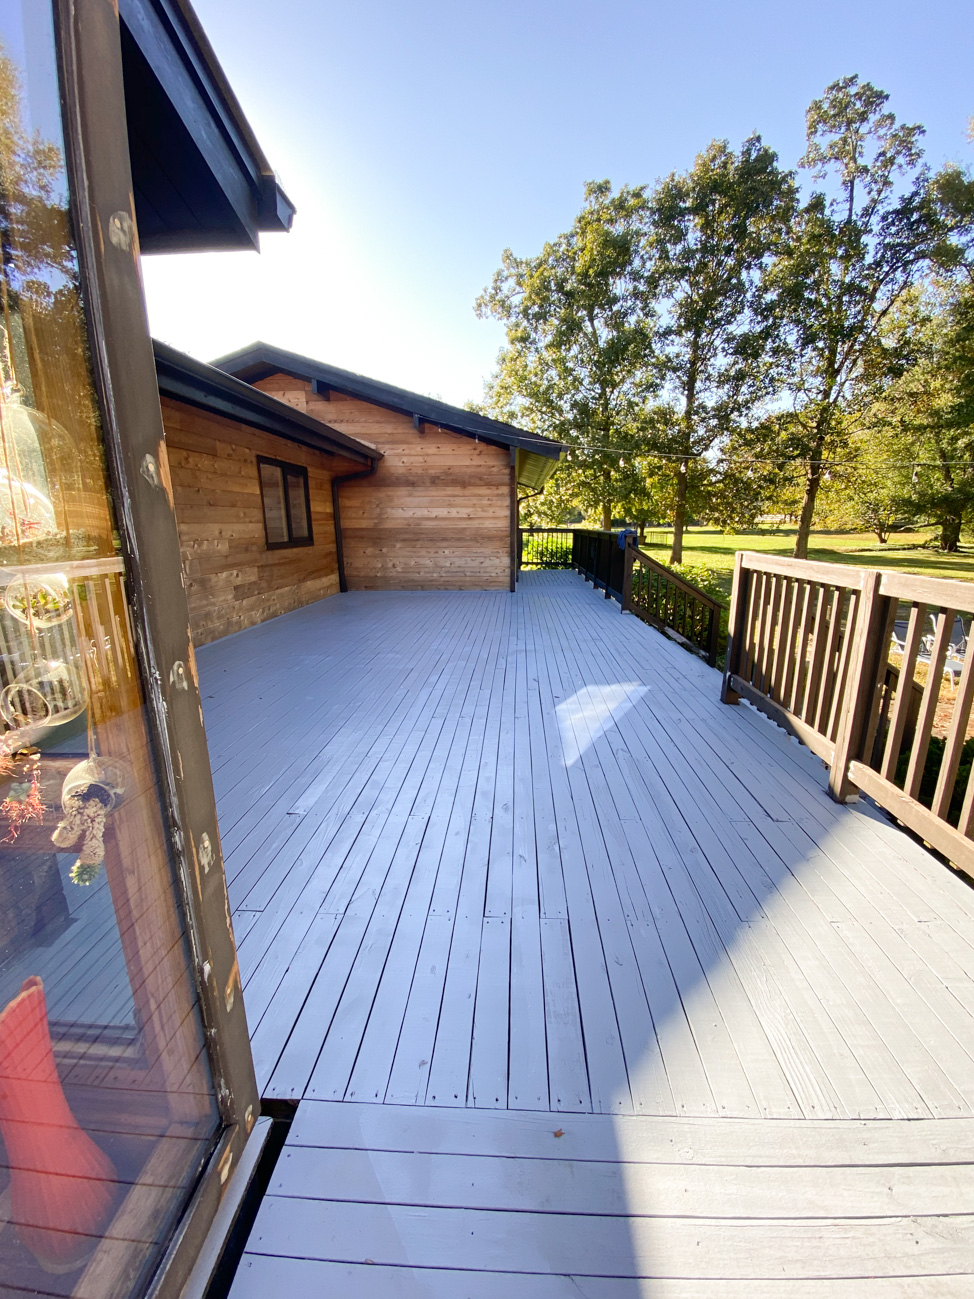
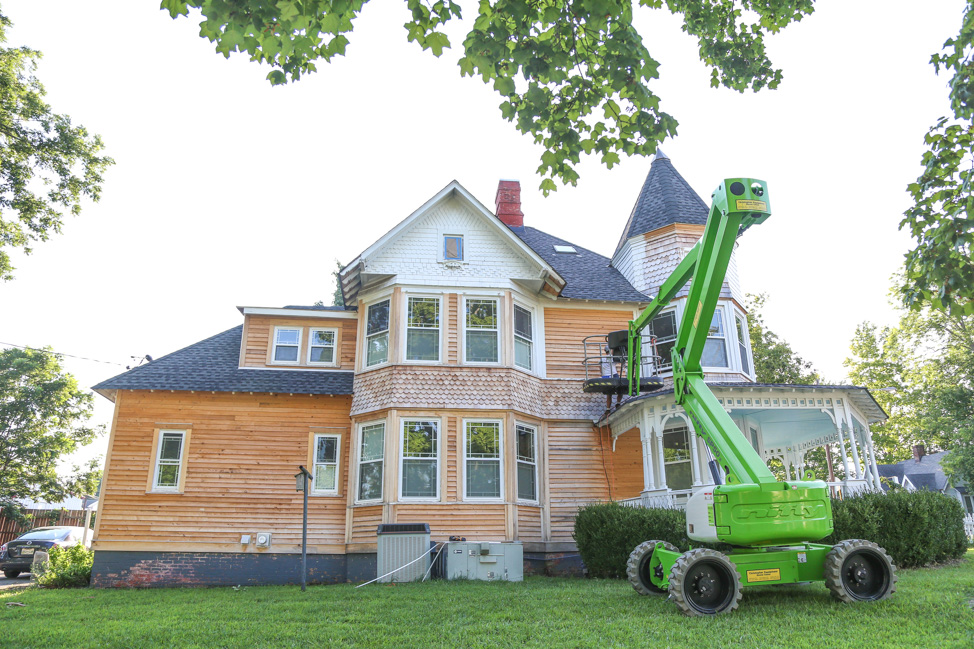
We painted the entire exterior
Compared to the pressure-washing, the painting has been a cake walk—or maybe it’s just because I married a man who lived a former life as a commercial painter and renovated more than 1,000 homes in the Bay Area. Over the course of three months, we worked a day here and there spraying the eaves and the foundation with Tricorn black paint.

After all that was done on certain sections, SVV went back in and brushed the cedar with a pine tar vitriol solution he ordered from Earth+Flax after a lot of research and deliberation (more on that in a standalone post on why we opted for this method to protect the exterior over a traditional, petroleum-based varnish). As of now, we’re about 75 percent done with just the back of the house still needing the first coat of vitriol.
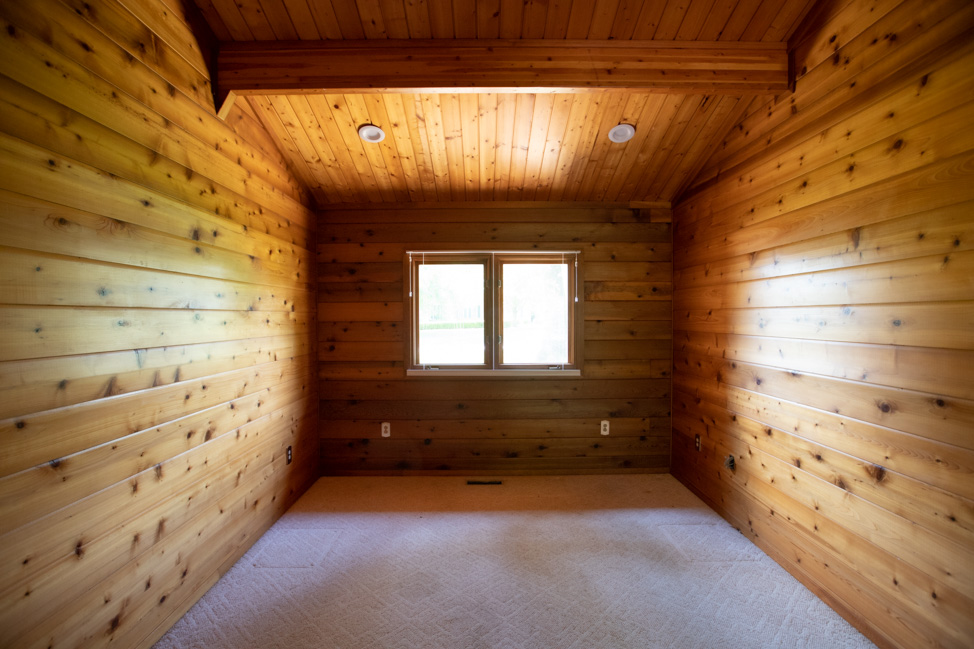
We laid flooring in one wing of the house
The Cedar House is pretty symmetrical with a large great room with vaulted ceilings (running around 14 to 18 feet in height) in the center and a wing off of each side of it. One of the reasons we got such a great deal on this house is that the water heater had flooded the wing of the house with two bedrooms and 2.5 bathrooms the year before we bought it, and the previous owners ripped out the damaged floor and just left crystallized glue-covered subfloor behind, as well as put temporary carpet in the three bedrooms on that wing.
It was ugly, it was gross, but we lived with it for a year … until we couldn’t handle it a day longer.
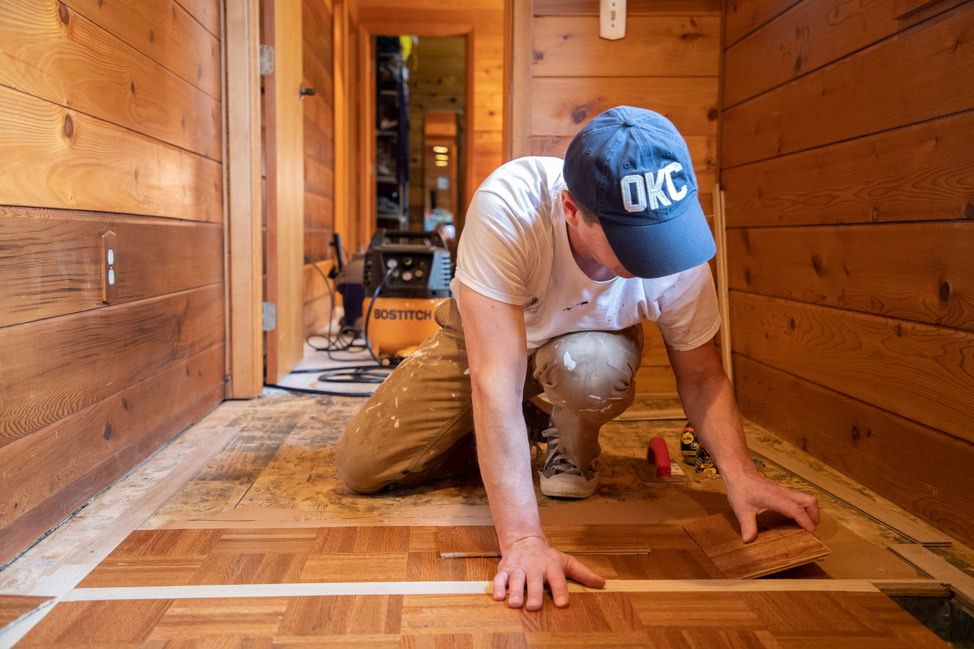
After months of searching, we were able to find the exact parquet used in the rest of the house—which has since been discontinued, much to our dismay as we wanted to use it elsewhere—on Wayfair of all places and buy enough as it came in and out of stock to finish the hallway. This was a week’s worth of work spread out over a month, but the end result is glorious.

After that, we also ripped out all the carpet in both our offices, the master bedroom and both walk-in closets, then did a very extensive shellac process (to remove any pet smells from the previous eight owners as there was a lot of animal pee staining this ugly thing) and cork base to sound-proof the rooms (another blog post for another time).
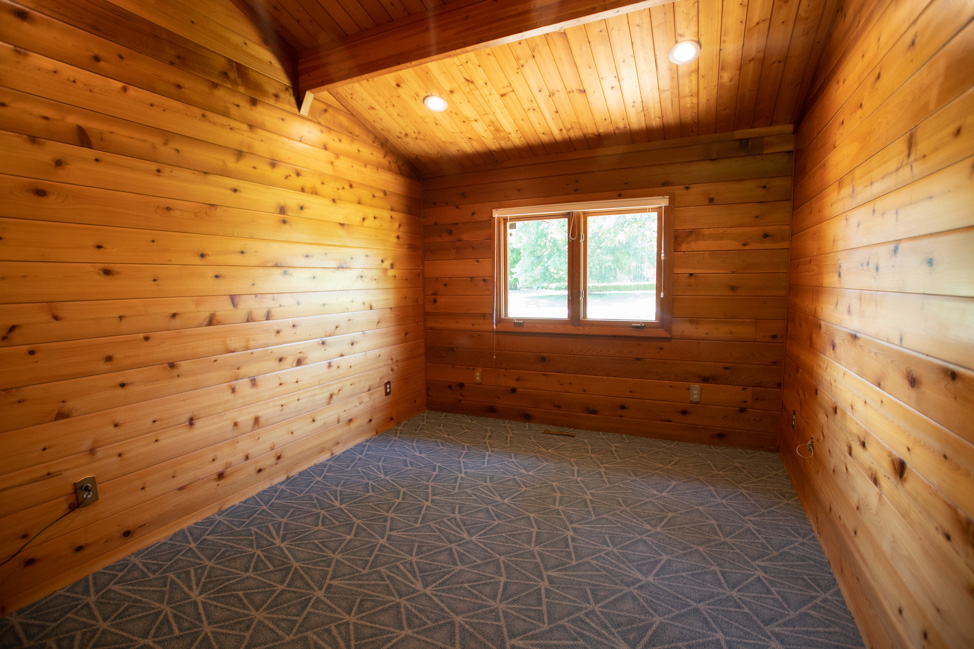
After that, we hired a local carpet company to come in and install carpet in the three rooms. Honestly, they had it easy: three hours’ worth of work after we spent a month doing all the prep!
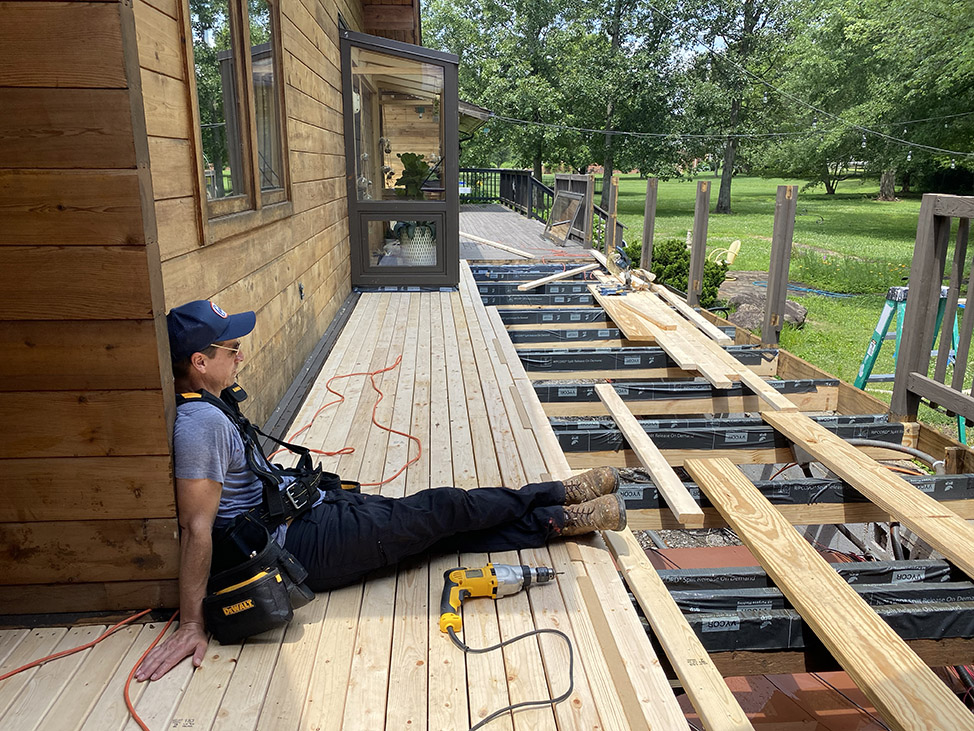
We ripped out the old deck and built a new one
The first thing you need to know is that we have a generously sized back deck—nearly 1,000 square feet, in fact. Ripping it out to build a new one was not in the cards; not for this year, not ever as far as I was concerned.
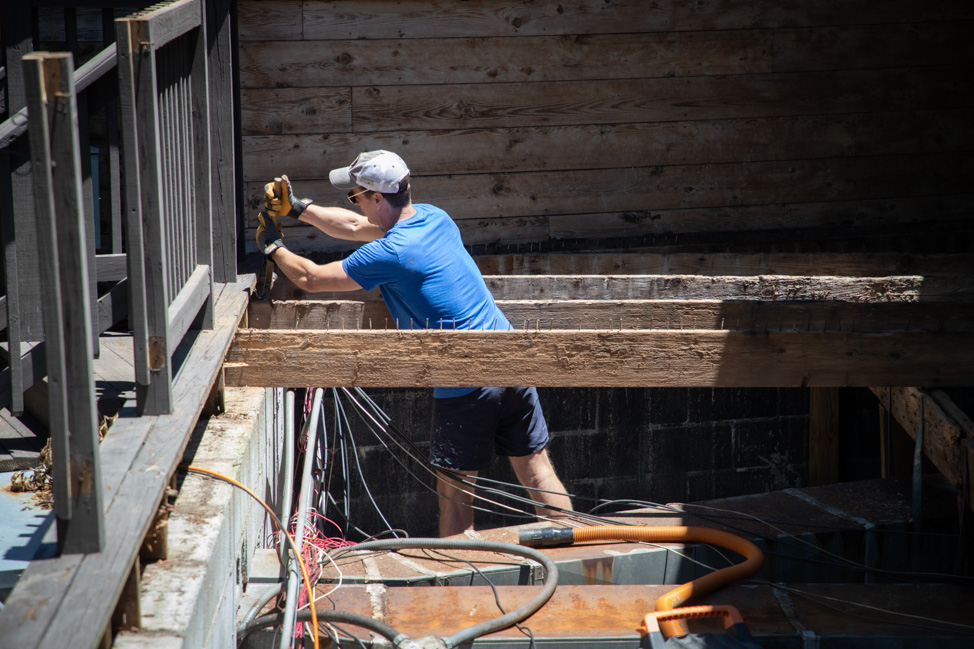
But isn’t this always how it happens, particularly when you buy a fixer? We were replacing a few rotted boards, which turned into a dozen, which turned into SVV getting down beneath the decking only to find that almost every joist had deteriorated to absolute mulch! Two-by-fours attached to nothing were haphazardly holding the remaining joists up—a case of good, old-fashioned redneck engineering if ever there was one—and how there were no accidents prior to this discovery is beyond me.

This was what the joists looked like after we ripped off the decking. It’s a miracle the deck didn’t collapse before!
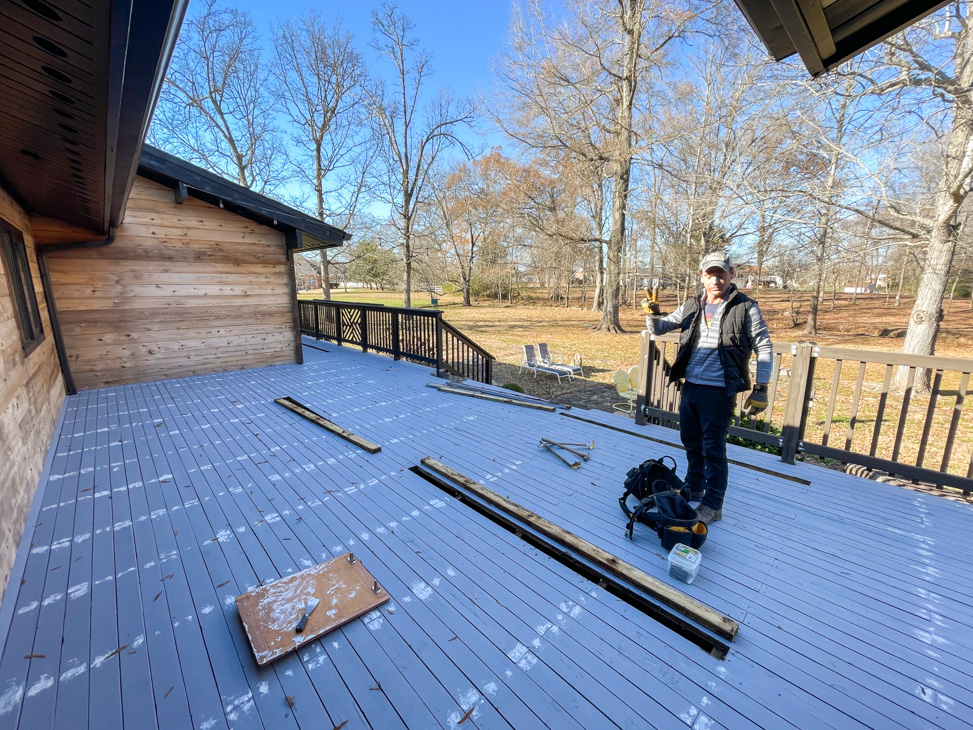
So we set out to rip out nearly the whole thing and took every precaution available to rebuild a solid deck that would never rot in the future. Three months later, it was finished. We still have to top-coat it (Tricorn black, always!), but man, it feels good to have the actual building of the deck done!

We built a garage system
We bought a secondhand racking system like the kind you see at Lowe’s or Home Depot and retrofitted it to our garage, so now two of the three bays have heavy-duty storage all the way up to the ceiling.

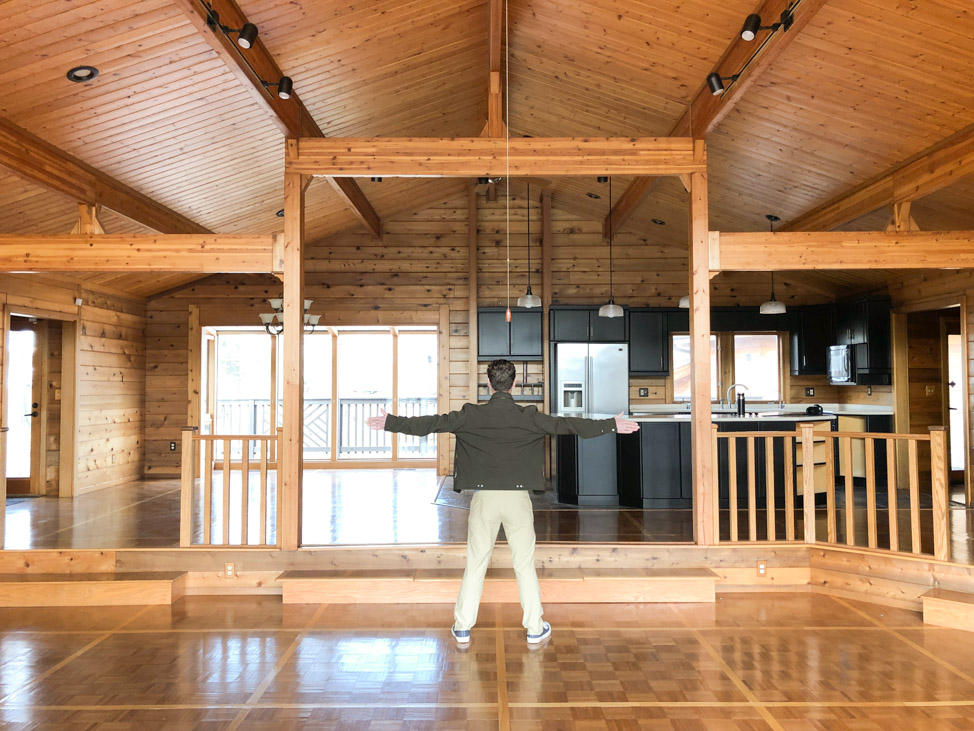
We’ve started the kitchen remodel
We hired my interior design friend Kendall Simmons to do an e-design for our kitchen, which SVV and I will be ripping out and installing over the coming four months. I love what she mapped out for us, and SVV just wrapped the cabinet plans with an architect/drafter. We’ve already replaced the lighting and started to order appliances. (Side note: Why do column refrigerators cost the same as a new car, ugh?)
We’re doing this slowly and meticulously over stages because gutting a kitchen is such a costly endeavor even doing the labor ourselves, so we’ve spaced out our orders from fall through spring to make it less painful on our bank account. We also just learned yesterday that our fridge/freezer and Wolf rangetop won’t be in until late-April due to COVID delays, so I guess it all works out anyway, huh? Coincidentally, my sister and her husband are also in the middle of a kitchen remodel (we bartered finishing their cabinets for them helping us with some exterior painting), so it’s just all kitchen talk all the time over here. And if you’ve seen how terribly dated and dysfunctional our kitchen is for the amount of space we could be using, you’ll know why.
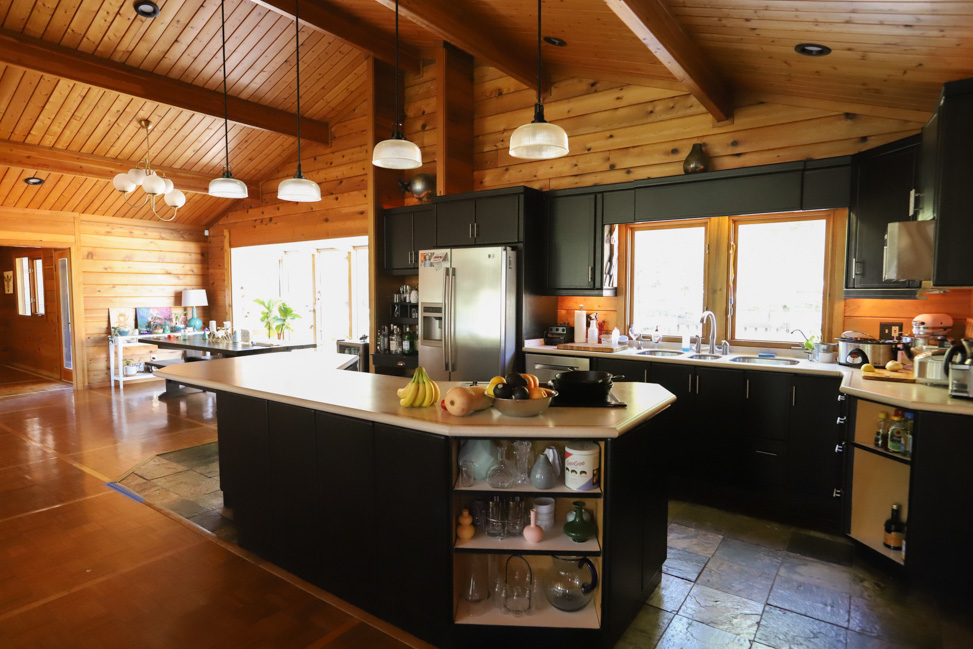
Before look at our kitchen remodel; all of this will be gone by summer!
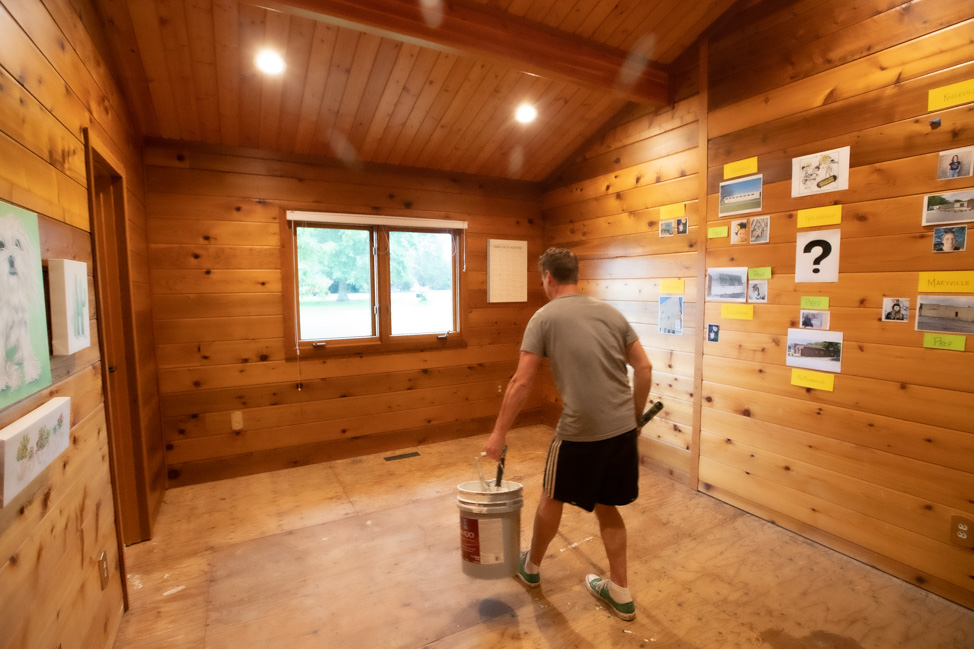
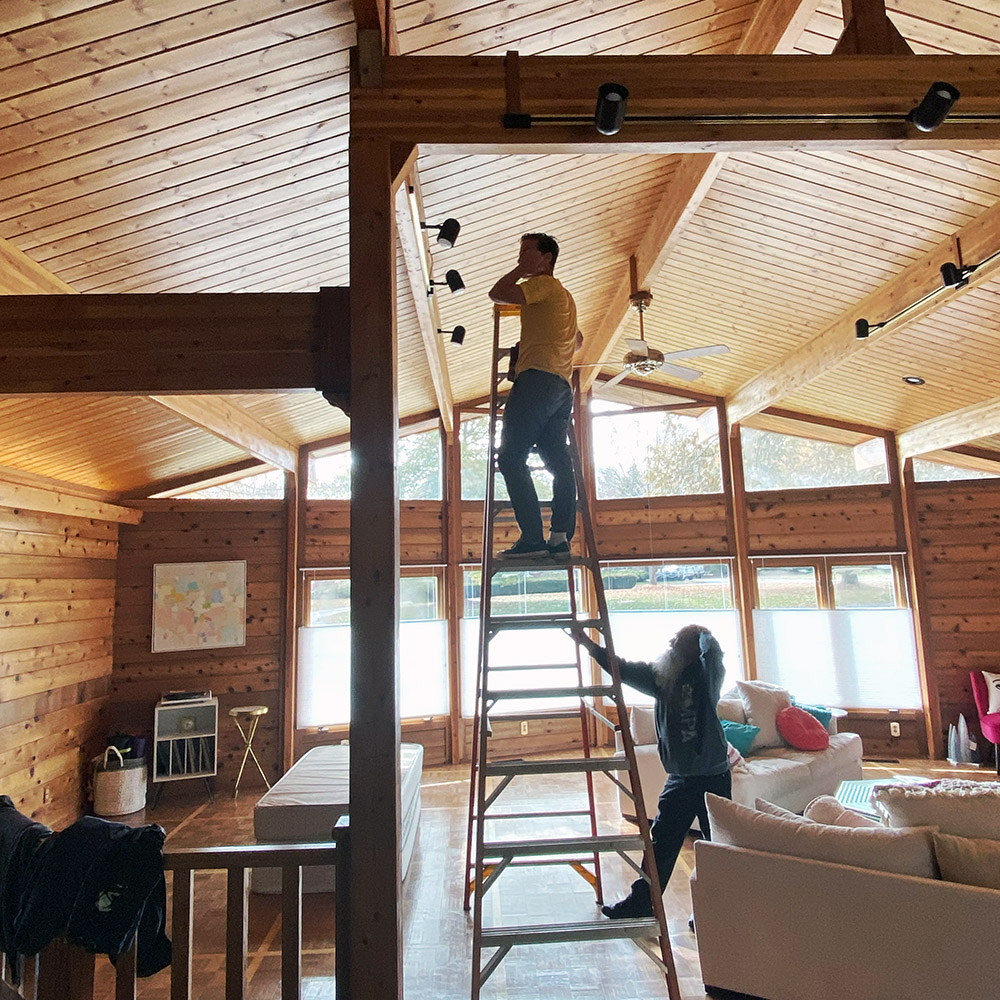
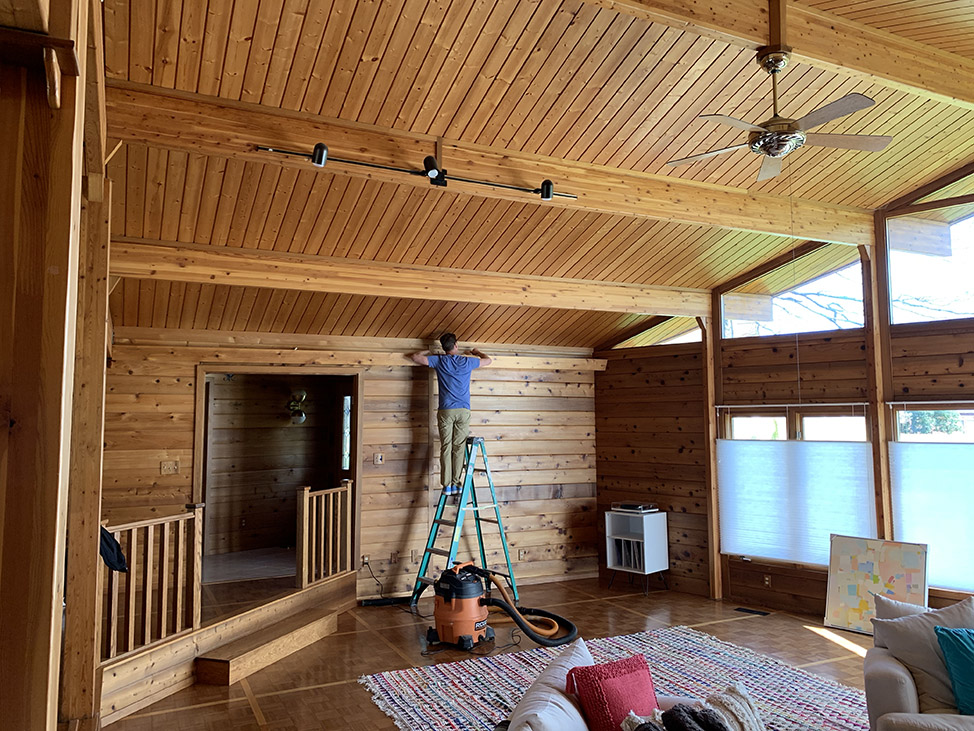
We also will be ripping out the fencing that separates the kitchen from the sunken living room and building a step that extends the entire room. On the far wall by the front entrance (where SVV is standing below), we’ll build a slick wet bar situation; whether that happens the second half of 2021 or next year, I don’t know.
Let’s just say I’ve never been more grateful for a husband with such extensive contracting skills before! He’s also really cute.

We’ve always been serial renovators, but this past year, being stuck at home in our dated home—one we have complete gratitude for owning, mind you, particularly having lived in closet-sized spaces in New York City and San Francisco—really lit a fire beneath both of us to get going, particularly as there’s no deadline, no end in sight, to this stay-at-home period in our lives. Most of the coming year will be dedicated to tightening the painting on the exterior—we still have plenty of touch-ups and cut-ins to do, not to mention the second coat of the pine tar stain next summer—but we also want to rip out the English garden in our backyard, pour concrete and create a really pleasing back patio hang, in addition to landscaping. After all, our lot is nearly two acres, so we have plenty of space to take advantage of.


Wowo, what an impressive amount of work. Your house is so unique and really just fun to look at. Thanks for sharing!
SOOOOO MUCH WORK…. nooo time for play!
It all looks fabulous!! Y’all are two hard working people who are very talented. To do all y’all did was something else. Can’t wait to see it in my next visit!